Bitte nutzen Sie die neue Anleitung: OpenCloud – Basisinstallation
Unsere Installationsanleitung für OpenCloud inklusive Collabora Office, draw.io, Tika und ClamAV sowie ausgelagerten Daten- und Konfigurationsverzeichnissen. OpenCloud » ein Open-Source Projekt für sicheren u. privaten Dateiaustausch und zugleich eine datenschutzkonforme Cloudlösung.

1. Systemvorbereitungen
Wechseln Sie in den priviligierten Benutzermodus
sudo -sTragen Sie diese Einstellungen der Laborumgebung in die /etc/hosts des Servers ein:
nano /etc/hosts[...]
127.0.0.1 cloud.opencloud.test
127.0.0.1 collabora.opencloud.test
127.0.0.1 wopiserver.opencloud.testMöchten Sie die OpenCloud produktiv einsetzen, so ersetzen Sie die zuvor gesetzten Werte und IP-Adressen mit Ihren A/AAA-Records, beispielsweise so:
[...]
127.0.0.1	localhost
127.0.1.1	opencloud.ihredomain.org opencloud collabora.ihredomain.org collabora wopiserver.ihredomain.orgwopiserver

# The following lines are desirable for IPv6 capable hosts
::1     localhost ip6-localhost ip6-loopback
ff02::1 ip6-allnodes
ff02::2 ip6-allrouters
123.456.789.10	opencloud.ihredomain.org opencloud collabora.ihredomain.org collabora wopiserver.ihredomain.org wopiserver
2a11:4022:15:27:d433:c2ff:fe44:fdb5 opencloud.ihredomain.org opencloud collabora.ihredomain.org collabora wopiserver.ihredomain.org wopiserver
Fahren Sie dann mit der Docker-Installation fort.
apt remove docker docker-engine docker.io
apt install apt-transport-https ca-certificates curl software-properties-common -yUBUNTU:
curl -fsSL https://download.docker.com/linux/ubuntu/gpg | sudo gpg --dearmor -o /usr/share/keyrings/docker-archive-keyring.gpgecho \
"deb [arch=amd64 signed-by=/usr/share/keyrings/docker-archive-keyring.gpg] https://download.docker.com/linux/ubuntu \
$(lsb_release -cs) stable" | sudo tee /etc/apt/sources.list.d/docker.list > /dev/nullDEBIAN:
curl -fsSL https://download.docker.com/linux/debian/gpg | sudo gpg --dearmor -o /usr/share/keyrings/docker-archive-keyring.gpgecho \
"deb [arch=amd64 signed-by=/usr/share/keyrings/docker-archive-keyring.gpg] https://download.docker.com/linux/debian \
$(lsb_release -cs) stable" | sudo tee /etc/apt/sources.list.d/docker.list > /dev/nullAb hier geht es wieder für beide Betriebssysteme: weiter:
Aktualisieren Sie das System und installieren docker-ce (docker community edition):
apt update && apt install docker-ce docker-ce-cli containerd.io docker-buildx-plugin docker-compose-pluginFügen Sie Ihren Benutzer der Docker-Gruppe hinzu
usermod -aG docker <IhrBenutzer>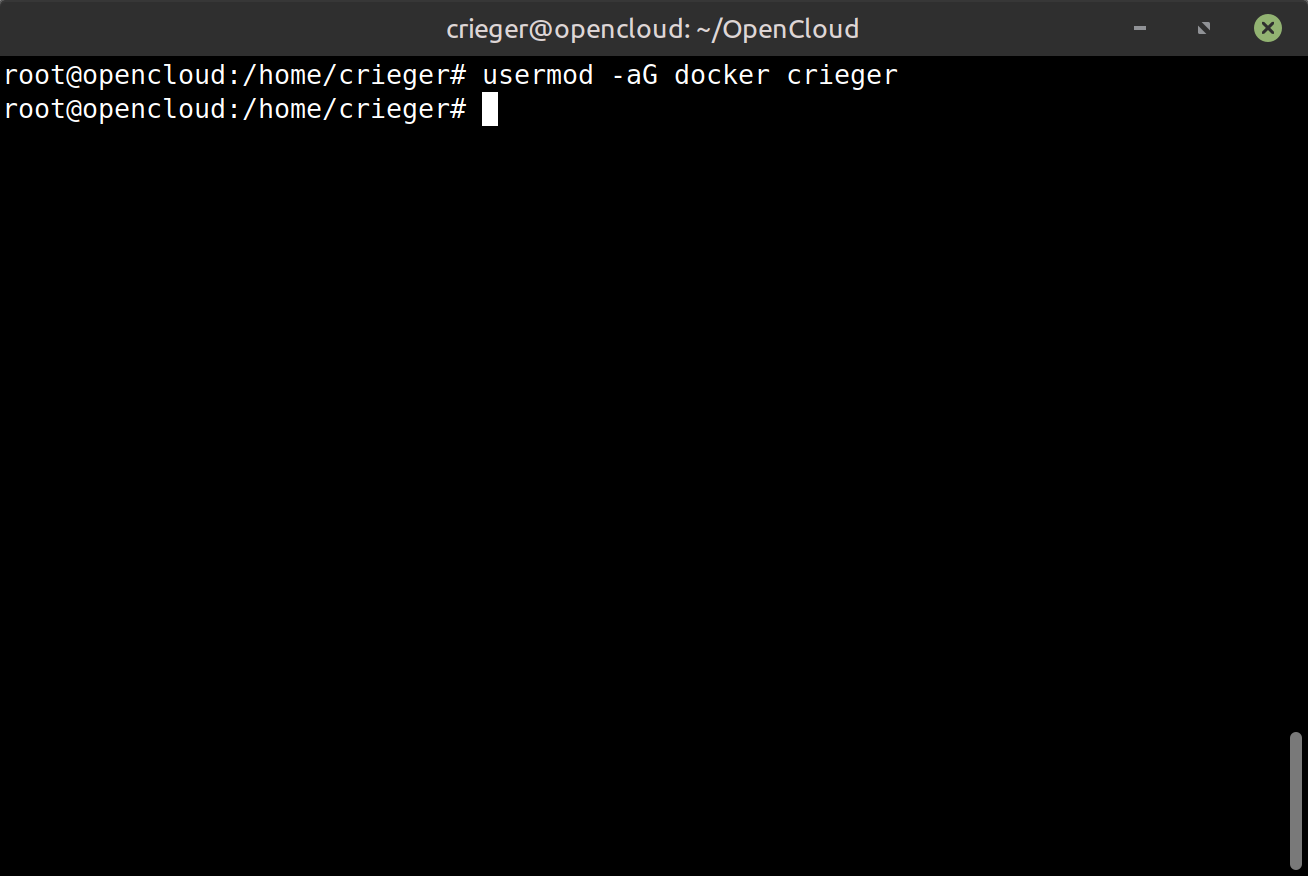
Verlassen Sie den sudo – Modus
exitund legen sich im Benutzerverzeichnis ($HOME) die OpenCloud-Arbeitsverzeichnisse an
mkdir -p $HOME/OpenCloud/opencloud-config
mkdir -p $HOME/OpenCloud/opencloud-data
Wechseln Sie in das Verzeichnis OpenCloud und laden darin OpenCloud per „git“ herunter.
cd $HOME/OpenCloud
git clone https://github.com/opencloud-eu/opencloud.git
Wechseln Sie in das Verzeichnis (opencloud/deployments/examples/opencloud_full)
cd opencloud/deployments/examples/opencloud_fullund erstellen Sicherungen der nachfolgend zu bearbeitenden Dateien
cp .env .env.bakFür dieses Labor-Szenario werden wir die OpenCloud lokal unter der Adresse https://cloud.opencloud.test erreichbar machen. Daher bearbeiten wir die eigene, lokale host-Datei
sudo nano /etc/hostsSofern Sie die OpenCloud nicht produktiv einsetzen (also in der Lab-Umgebung mit self-signed-certificates arbeiten), so fügen Sie diese drei Zeilen in host-Datei Ihres Notebooks/Desktops hinzu und passen die IP entsprechen Ihres OpenCloud-Labservers an. Nutzen Sie die OpenCloud produktiv, also mit entsprechenden A/AAA-Records, ist kein Eintrag notwendig.
[...]
# Laborumgebung: OpenCloud
192.168.0.170 cloud.opencloud.test
192.168.0.170 collabora.opencloud.test
192.168.0.170 wopiserver.opencloud.test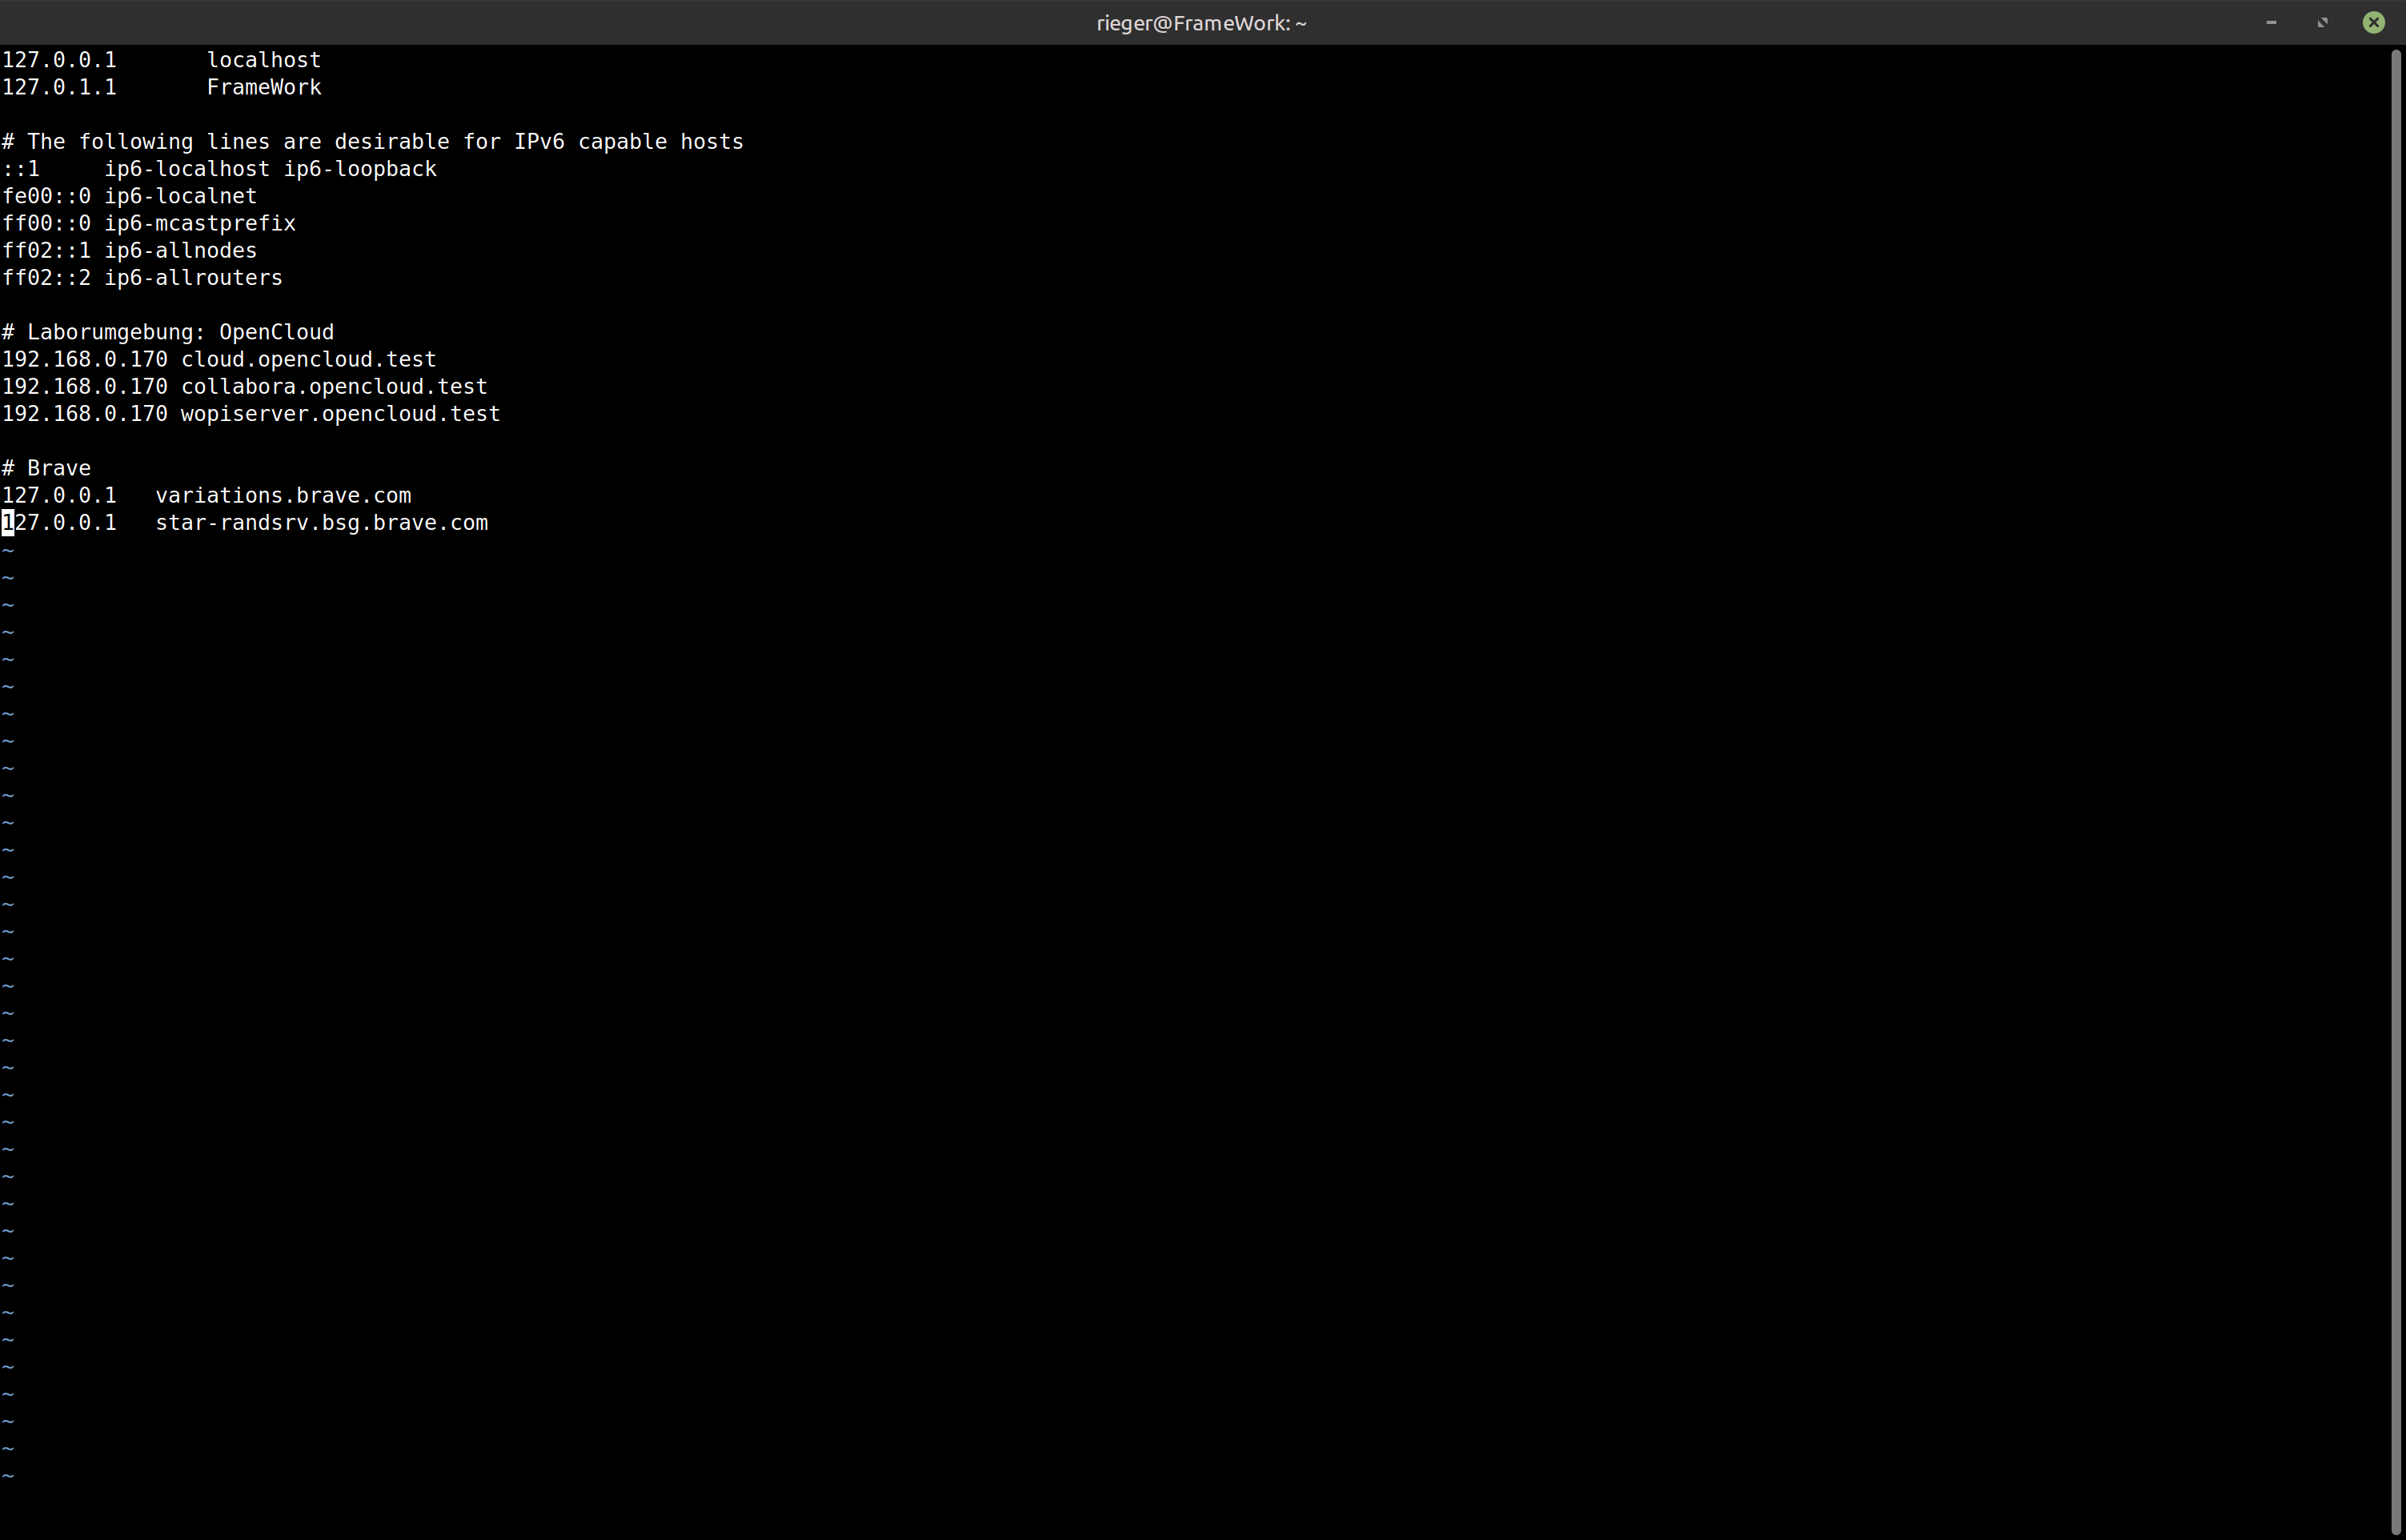
2. Konfiguration und Betrieb
Editieren wir nun die .env-Datei so, dass
a) Collabora automatisch mit gestartet und eingebunden wird,
b) ClamAV automatisch mit gestartet und eingebunden wird,
c) DrawIO automatisch mit gestartet und eingebunden wird,
d) Apache Tika (Volltextsuche) automatisch mit gestartet und eingebunden wird.
Optional:
e) Verwendung realer Domains und Einbindung von Lets Encrypt Zertifikaten.
Beginnen wir also mit der Bearbeitung der Datei „.env„:
nano .envPassen die rot markierten Stellen entsprechend an.
## Basic Settings ##
# Define the docker compose log driver used.
# Defaults to local
LOG_DRIVER=
# If you're on an internet facing server, comment out following line.
# It skips certificate validation for various parts of OpenCloud and is
# needed when self signed certificates are used.
INSECURE=true


## Traefik Settings ##
# Note: Traefik is always enabled and can't be disabled.
# Serve Traefik dashboard.
# Defaults to "false".
TRAEFIK_DASHBOARD=
# Domain of Traefik, where you can find the dashboard.
# Defaults to "traefik.opencloud.test"
TRAEFIK_DOMAIN=
# Basic authentication for the traefik dashboard.
# Defaults to user "admin" and password "admin" (written as: "admin:admin").
TRAEFIK_BASIC_AUTH_USERS=
# Email address for obtaining LetsEncrypt certificates.
# Needs only be changed if this is a public facing server.
TRAEFIK_ACME_MAIL=
# Set to the following for testing to check the certificate process:
# "https://acme-staging-v02.api.letsencrypt.org/directory"
# With staging configured, there will be an SSL error in the browser.
# When certificates are displayed and are emitted by # "Fake LE Intermediate X1",
# the process went well and the envvar can be reset to empty to get valid certificates.
TRAEFIK_ACME_CASERVER=


## OpenCloud Settings ##
# Beside Traefik, this service must stay enabled.
# Disable only for testing purposes.
# Note: the leading colon is required to enable the service.
OPENCLOUD=:opencloud.yml
# The opencloud container image.
# For production releases: "opencloudeu/opencloud"
# For rolling releases:    "opencloudeu/opencloud-rolling"
# Defaults to production if not set otherwise
OC_DOCKER_IMAGE=opencloudeu/opencloud-rolling
# The openCloud container version.
# Defaults to "latest" and points to the latest stable tag.
OC_DOCKER_TAG=
# Domain of openCloud, where you can find the frontend.
# Defaults to "cloud.opencloud.test"
OC_DOMAIN=
# openCloud admin user password. Defaults to "admin".
ADMIN_PASSWORD=IHRPASSWORT
# Demo users should not be created on a production instance,
# because their passwords are public. Defaults to "false".
# If demo users is set to "true", the following user accounts are created automatically:
# alan, mary, margaret, dennis and lynn - the password is 'demo' for all.
DEMO_USERS=
# Define the openCloud loglevel used.
#
LOG_LEVEL=
# Define the kind of logging.
# The default log can be read by machines.
# Set this to true to make the log human readable.
# LOG_PRETTY=true
#
# Define the openCloud storage location. Set the paths for config and data to a local path.
# Note that especially the data directory can grow big.
# Leaving it default stores data in docker internal volumes.
OC_CONFIG_DIR=/home/IHRBENUTZERNAME/OpenCloud/opencloud-config
OC_DATA_DIR=/home/IHRBENUTZERNAME/OpenCloud/opencloud-data

# S3 Storage configuration - optional
# OpenCloud supports S3 storage as primary storage.
# Per default, S3 storage is disabled and the decomposed storage driver is used.
# To enable S3 storage, uncomment the following line and configure the S3 storage.
# For more details see:
# https://docs.opencloud.eu/docs/admin/configuration/storage-decomposeds3
# Note: the leading colon is required to enable the service.
#DECOMPOSEDS3=:decomposeds3.yml
# Configure the S3 storage endpoint. Defaults to "http://minio:9000" for testing purposes.
DECOMPOSEDS3_ENDPOINT=
# S3 region. Defaults to "default".
DECOMPOSEDS3_REGION=
# S3 access key. Defaults to "opencloud"
DECOMPOSEDS3_ACCESS_KEY=
# S3 secret. Defaults to "opencloud-secret-key"
DECOMPOSEDS3_SECRET_KEY=
# S3 bucket. Defaults to "opencloud"
DECOMPOSEDS3_BUCKET=
#
# For testing purposes, add local minio S3 storage to the docker-compose file.
# The leading colon is required to enable the service.
#DECOMPOSEDS3_MINIO=:minio.yml
# Minio domain. Defaults to "minio.opencloud.test".
MINIO_DOMAIN=

# OpenCloud uses POSIX storage as the default primary storage.
# By default, Decomposed storage is disabled, and the POSIX storage driver is used.
# To enable Decomposed storage, uncomment the following line.
# Note: the leading colon is required to enable the service.
#DECOMPOSED=:decomposed.yml

# Define SMTP settings if you would like to send OpenCloud email notifications.
#
# NOTE: when configuring Inbucket, these settings have no effect, see inbucket.yml for details.
# SMTP host to connect to.
SMTP_HOST="mail.server.eu"
# Port of the SMTP host to connect to.
SMTP_PORT=465/587
# An eMail address that is used for sending OpenCloud notification eMails
# like "opencloud notifications <noreply@yourdomain.com>".
SMTP_SENDER="OpenCloud <noreply@server.eu>"
# Username for the SMTP host to connect to.
SMTP_USERNAME="SMTP-BENUTZER"
# Password for the SMTP host to connect to.
SMTP_PASSWORD="SMTP-PASSWORT"
# Authentication method for the SMTP communication.
SMTP_AUTHENTICATION=auto
# Encryption method for the SMTP communication. Possible values are 'starttls', 'ssltls' and 'none'
SMTP_TRANSPORT_ENCRYPTION=starttls
# Allow insecure connections to the SMTP server. Defaults to false.
SMTP_INSECURE=false

# Addititional services to be started on opencloud startup
# The following list of services is not startet automatically and must be
# manually defined for startup:
# IMPORTANT: The notification service is MANDATORY, do not delete!
# IMPORTANT: Add any services to the startup list comma separated like "notifications,antivirus" etc.
START_ADDITIONAL_SERVICES="notifications,antivirus"


## openCloud Web Extensions ##
# It is possible to use the openCloud Web Extensions to add custom functionality to the openCloud frontend.
# For more details see https://github.com/opencloud-eu/web-extensions/blob/main/README.md
# Note: the leading colon is required to enable the service.
# Enable this to create a new named volume
EXTENSIONS=:web_extensions/extensions.yml
# Enable the desired extensions by uncommenting the following lines.
# Note: the leading colon is required to enable the service.
# Note: if you want to remove a web extension, you must delete the opencloud-apps volume. It will be properly recreated on docker compose startup.
UNZIP=:web_extensions/unzip.yml
DRAWIO=:web_extensions/drawio.yml
JSONVIEWER=:web_extensions/jsonviewer.yml
PROGRESSBARS=:web_extensions/progressbars.yml
EXTERNALSITES=:web_extensions/externalsites.yml
# External Sites needs additional config, see the following files for more details.
# - config/opencloud/apps.yaml
# - config/opencloud/csp.yaml
#IMPORTER=:web_extensions/importer.yml
# The importer needs additional config, see the following lines for more details.
## The docker image to be used for uppy companion.
COMPANION_IMAGE=
# Domain of Uppy Companion. Defaults to "companion.opencloud.test".
COMPANION_DOMAIN=
# Provider settings, see https://uppy.io/docs/companion/#provideroptions for reference.
# Empty by default, which disables providers.
COMPANION_ONEDRIVE_KEY=
COMPANION_ONEDRIVE_SECRET=


## Default Enabled Services ##

### Apache Tika Content Analysis Toolkit ###
# Tika (search) is enabled by default, comment if not required.
# Note: the leading colon is required to enable the service.
TIKA=:tika.yml
# Set the desired docker image tag or digest.
# Defaults to "latest"
TIKA_IMAGE=

### IMPORTANT Note for Online Office Apps ###
# To avoid app interlocking issues, you should select only one app to be active/configured.
# This is due the fact that there is currently no app interlocking for the same file and one
# has to wait for a lock release to open the file with another app.

### Collabora Settings ###
# Collabora web office is default enabled, comment if not required.
# Note: the leading colon is required to enable the service.
COLLABORA=:collabora.yml
# Domain of Collabora, where you can find the frontend.
# Defaults to "collabora.opencloud.test"
COLLABORA_DOMAIN=
# Domain of the wopiserver which handles OnlyOffice.
# Defaults to "wopiserver.opencloud.test"
WOPISERVER_DOMAIN=
# Admin user for Collabora.
# Defaults to "admin".
# Collabora Admin Panel URL:
# https://{COLLABORA_DOMAIN}/browser/dist/admin/admin.html
COLLABORA_ADMIN_USER=collaborabenutzer
# Defaults to "admin".
COLLABORA_ADMIN_PASSWORD=collaborapwd
# Set to true to enable SSL for Collabora Online. Default is true if not specified.
COLLABORA_SSL_ENABLE=false
# If you're on an internet-facing server, enable SSL verification for Collabora Online.
# Please comment out the following line:
COLLABORA_SSL_VERIFICATION=false


## Supplemental Configurations ##
# If you want to use supplemental configurations,
# you need to uncomment lines containing :path/file.yml
# and configure the service as required.


### Debugging - Monitoring ###
# Note: the leading colon is required to enable the service.
#MONITORING=:monitoring_tracing/monitoring.yml


### Virusscanner Settings ###
# IMPORTANT: If you enable antivirus, you also MUST configure the START_ADDITIONAL_SERVICES
# envvar in the OpenCloud Settings above by adding 'antivirus' to the list.
# Note: the leading colon is required to enable the service.
CLAMAV=:clamav.yml
# Image version of the ClamAV container.
# Defaults to "latest"
CLAMAV_DOCKER_TAG=


### OnlyOffice Settings ###
# Note: the leading colon is required to enable the service.
#ONLYOFFICE=:onlyoffice.yml
# Domain for OnlyOffice. Defaults to "onlyoffice.opencloud.test".
ONLYOFFICE_DOMAIN=
# Domain for the wopiserver which handles OnlyOffice.
WOPISERVER_ONLYOFFICE_DOMAIN=


### Inbucket Settings ###
# Inbucket is a mail catcher tool for testing purposes.
# DO NOT use in Production.
# Note: the leading colon is required to enable the service.
#INBUCKET=:inbucket.yml
# email server (in this case inbucket acts as mail catcher).
# Domain for Inbucket. Defaults to "mail.opencloud.test".
INBUCKET_DOMAIN=

### Compose Configuration ###
# Path separator for supplemental compose files specified in COMPOSE_FILE.
COMPOSE_PATH_SEPARATOR=:

## IMPORTANT ##
# This MUST be the last line as it assembles the supplemental compose files to be used.
# ALL supplemental configs must be added here, whether commented or not.
# Each var must either be empty or contain :path/file.yml
COMPOSE_FILE=docker-compose.yml${OPENCLOUD:-}${TIKA:-}${DECOMPOSEDS3:-}${DECOMPOSEDS3_MINIO:-}${DECOMPOSED:-}${COLLABORA:-}${MONITORING:-}${IMPORTER:-}${CLAMAV:-}${ONLYOFFICE:-}${INBUCKET:-}${EXTENSIONS:-}${UNZIP:-}${DRAWIO:-}${JSONVIEWER:-}${PROGRESSBARS:-}${EXTERNALSITES:-}
Wenn Sie die OpenCloud produktiv einsetzen, so müssen diese Parameter zusätzlich angepasst werden:
[...]
OC_DOMAIN=opencloud.ihredomain.org
...
COLLABORA_DOMAIN=collabora.ihredomain.org
[...]
WOPISERVER_DOMAIN=wopiserver.ihredomain.org
[...]
COLLABORA_SSL_ENABLE=false
[...]
COLLABORA_SSL_VERIFICATION=true
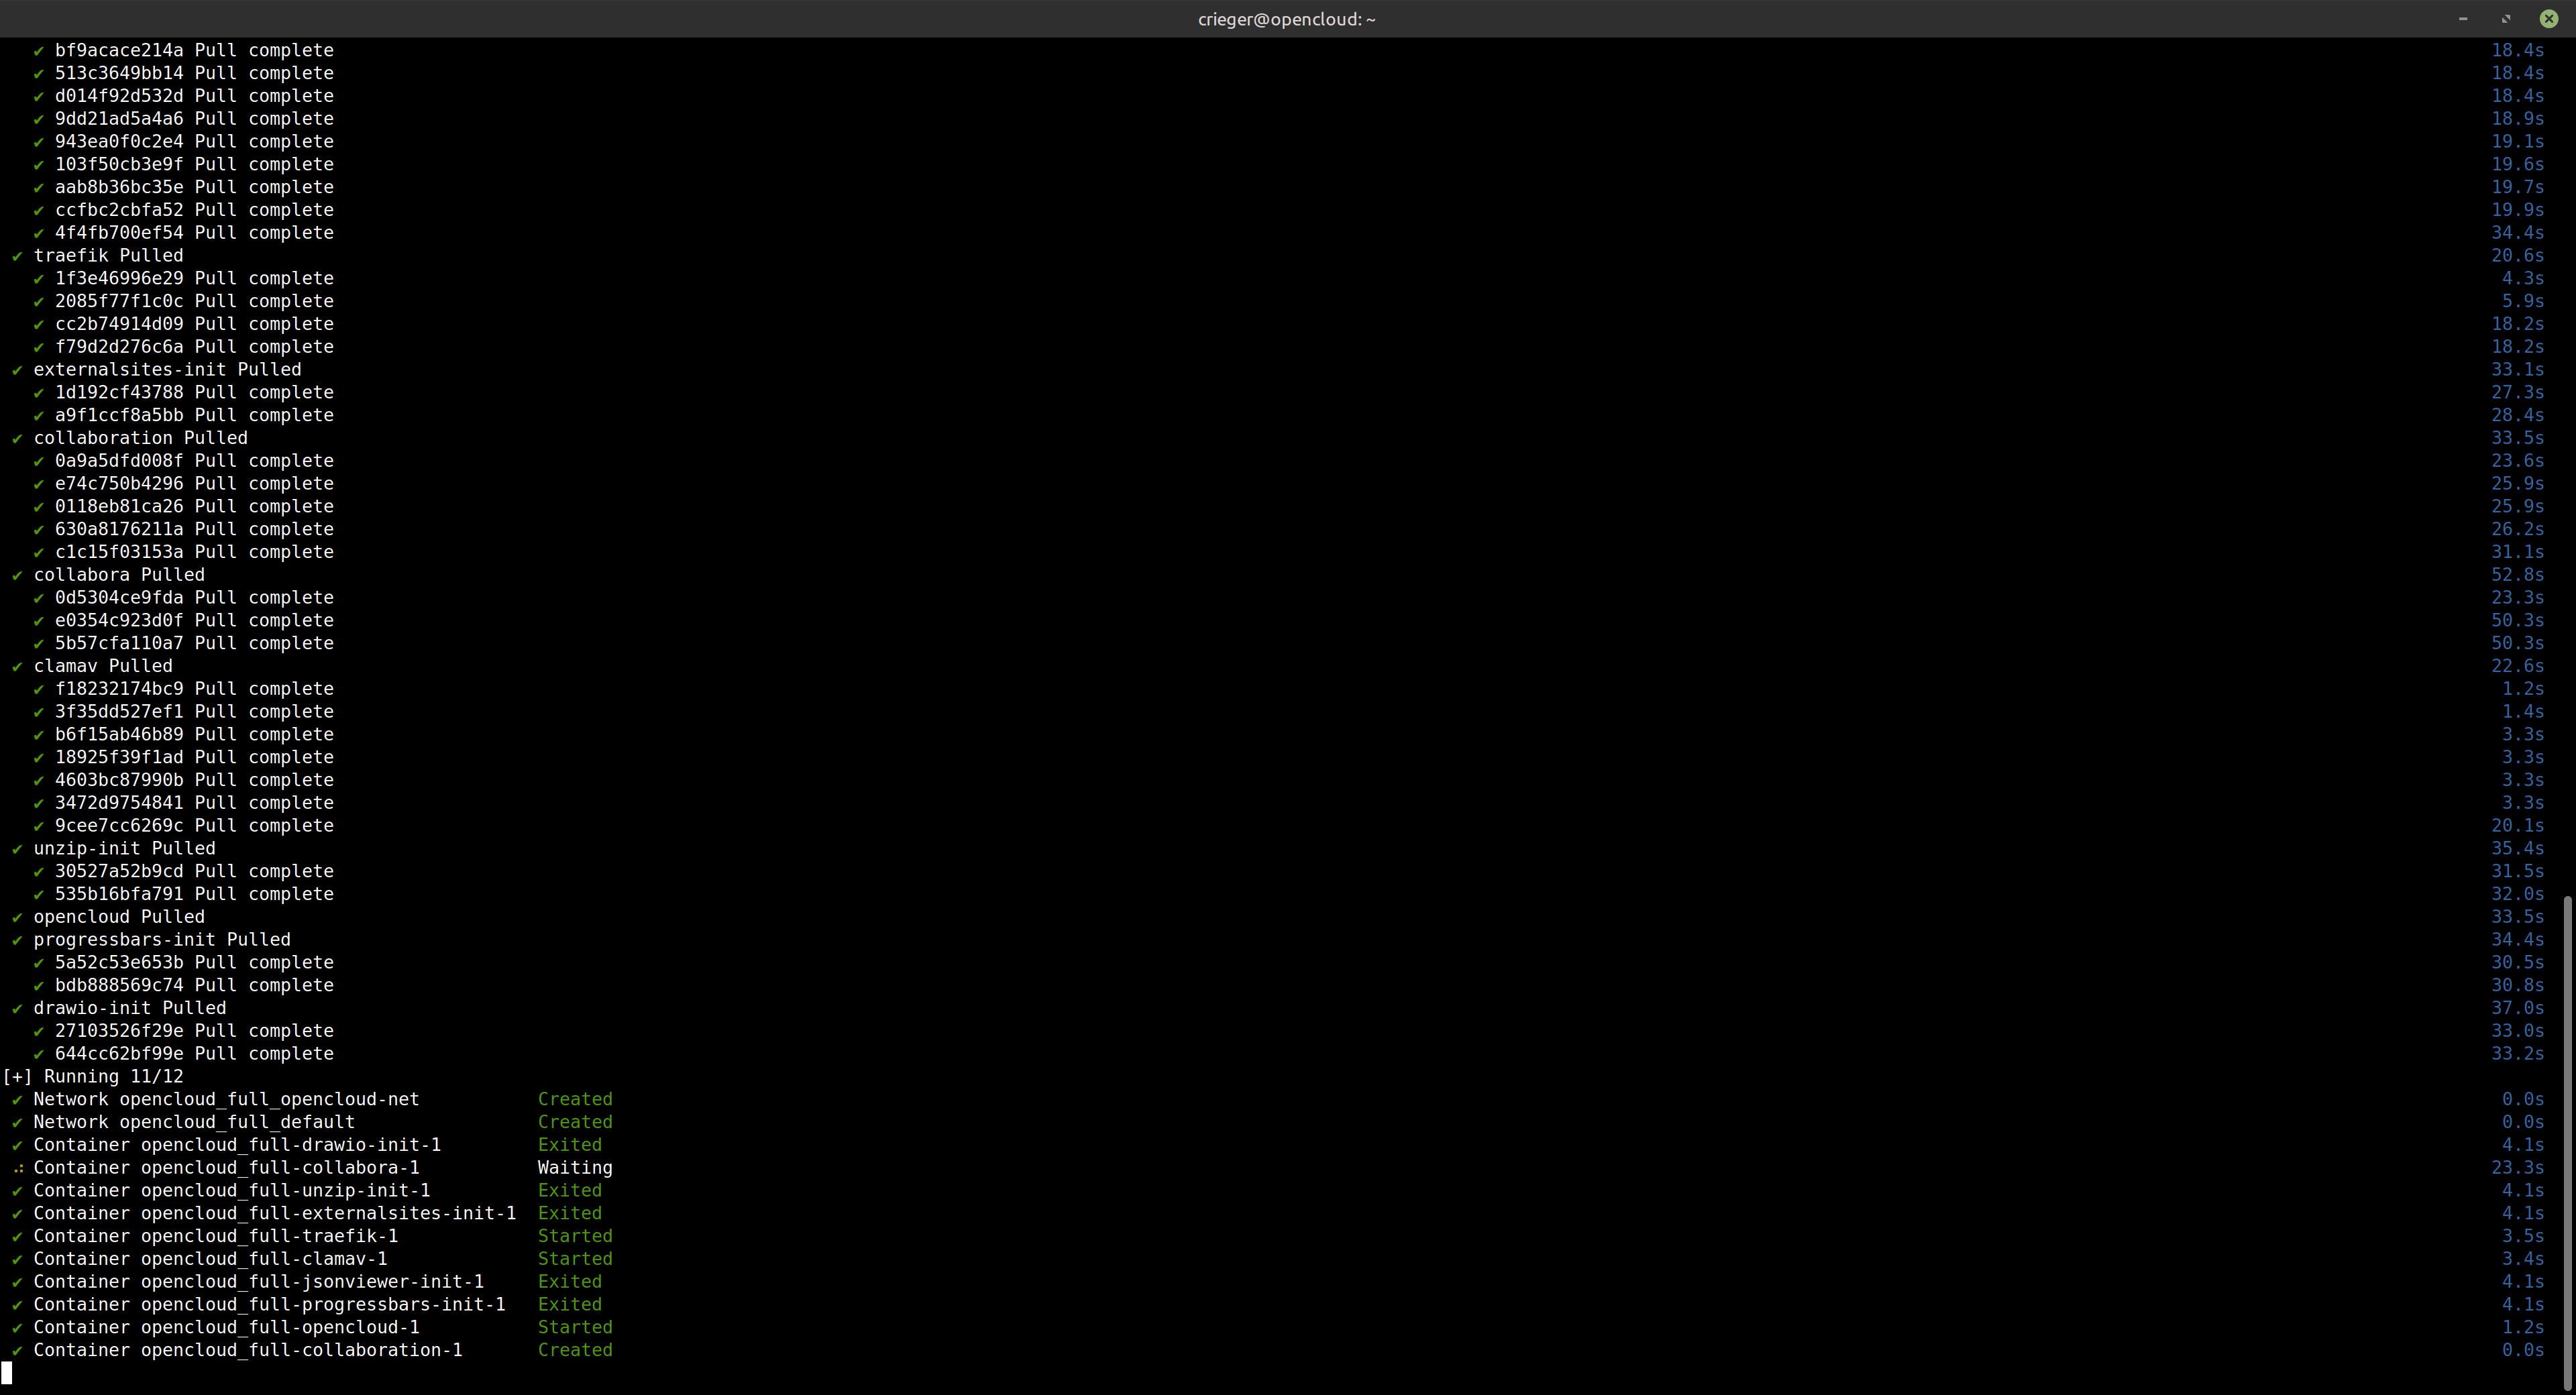
[...]Starten Sie nun Ihre OpenCloud erstmalig
docker compose up -d
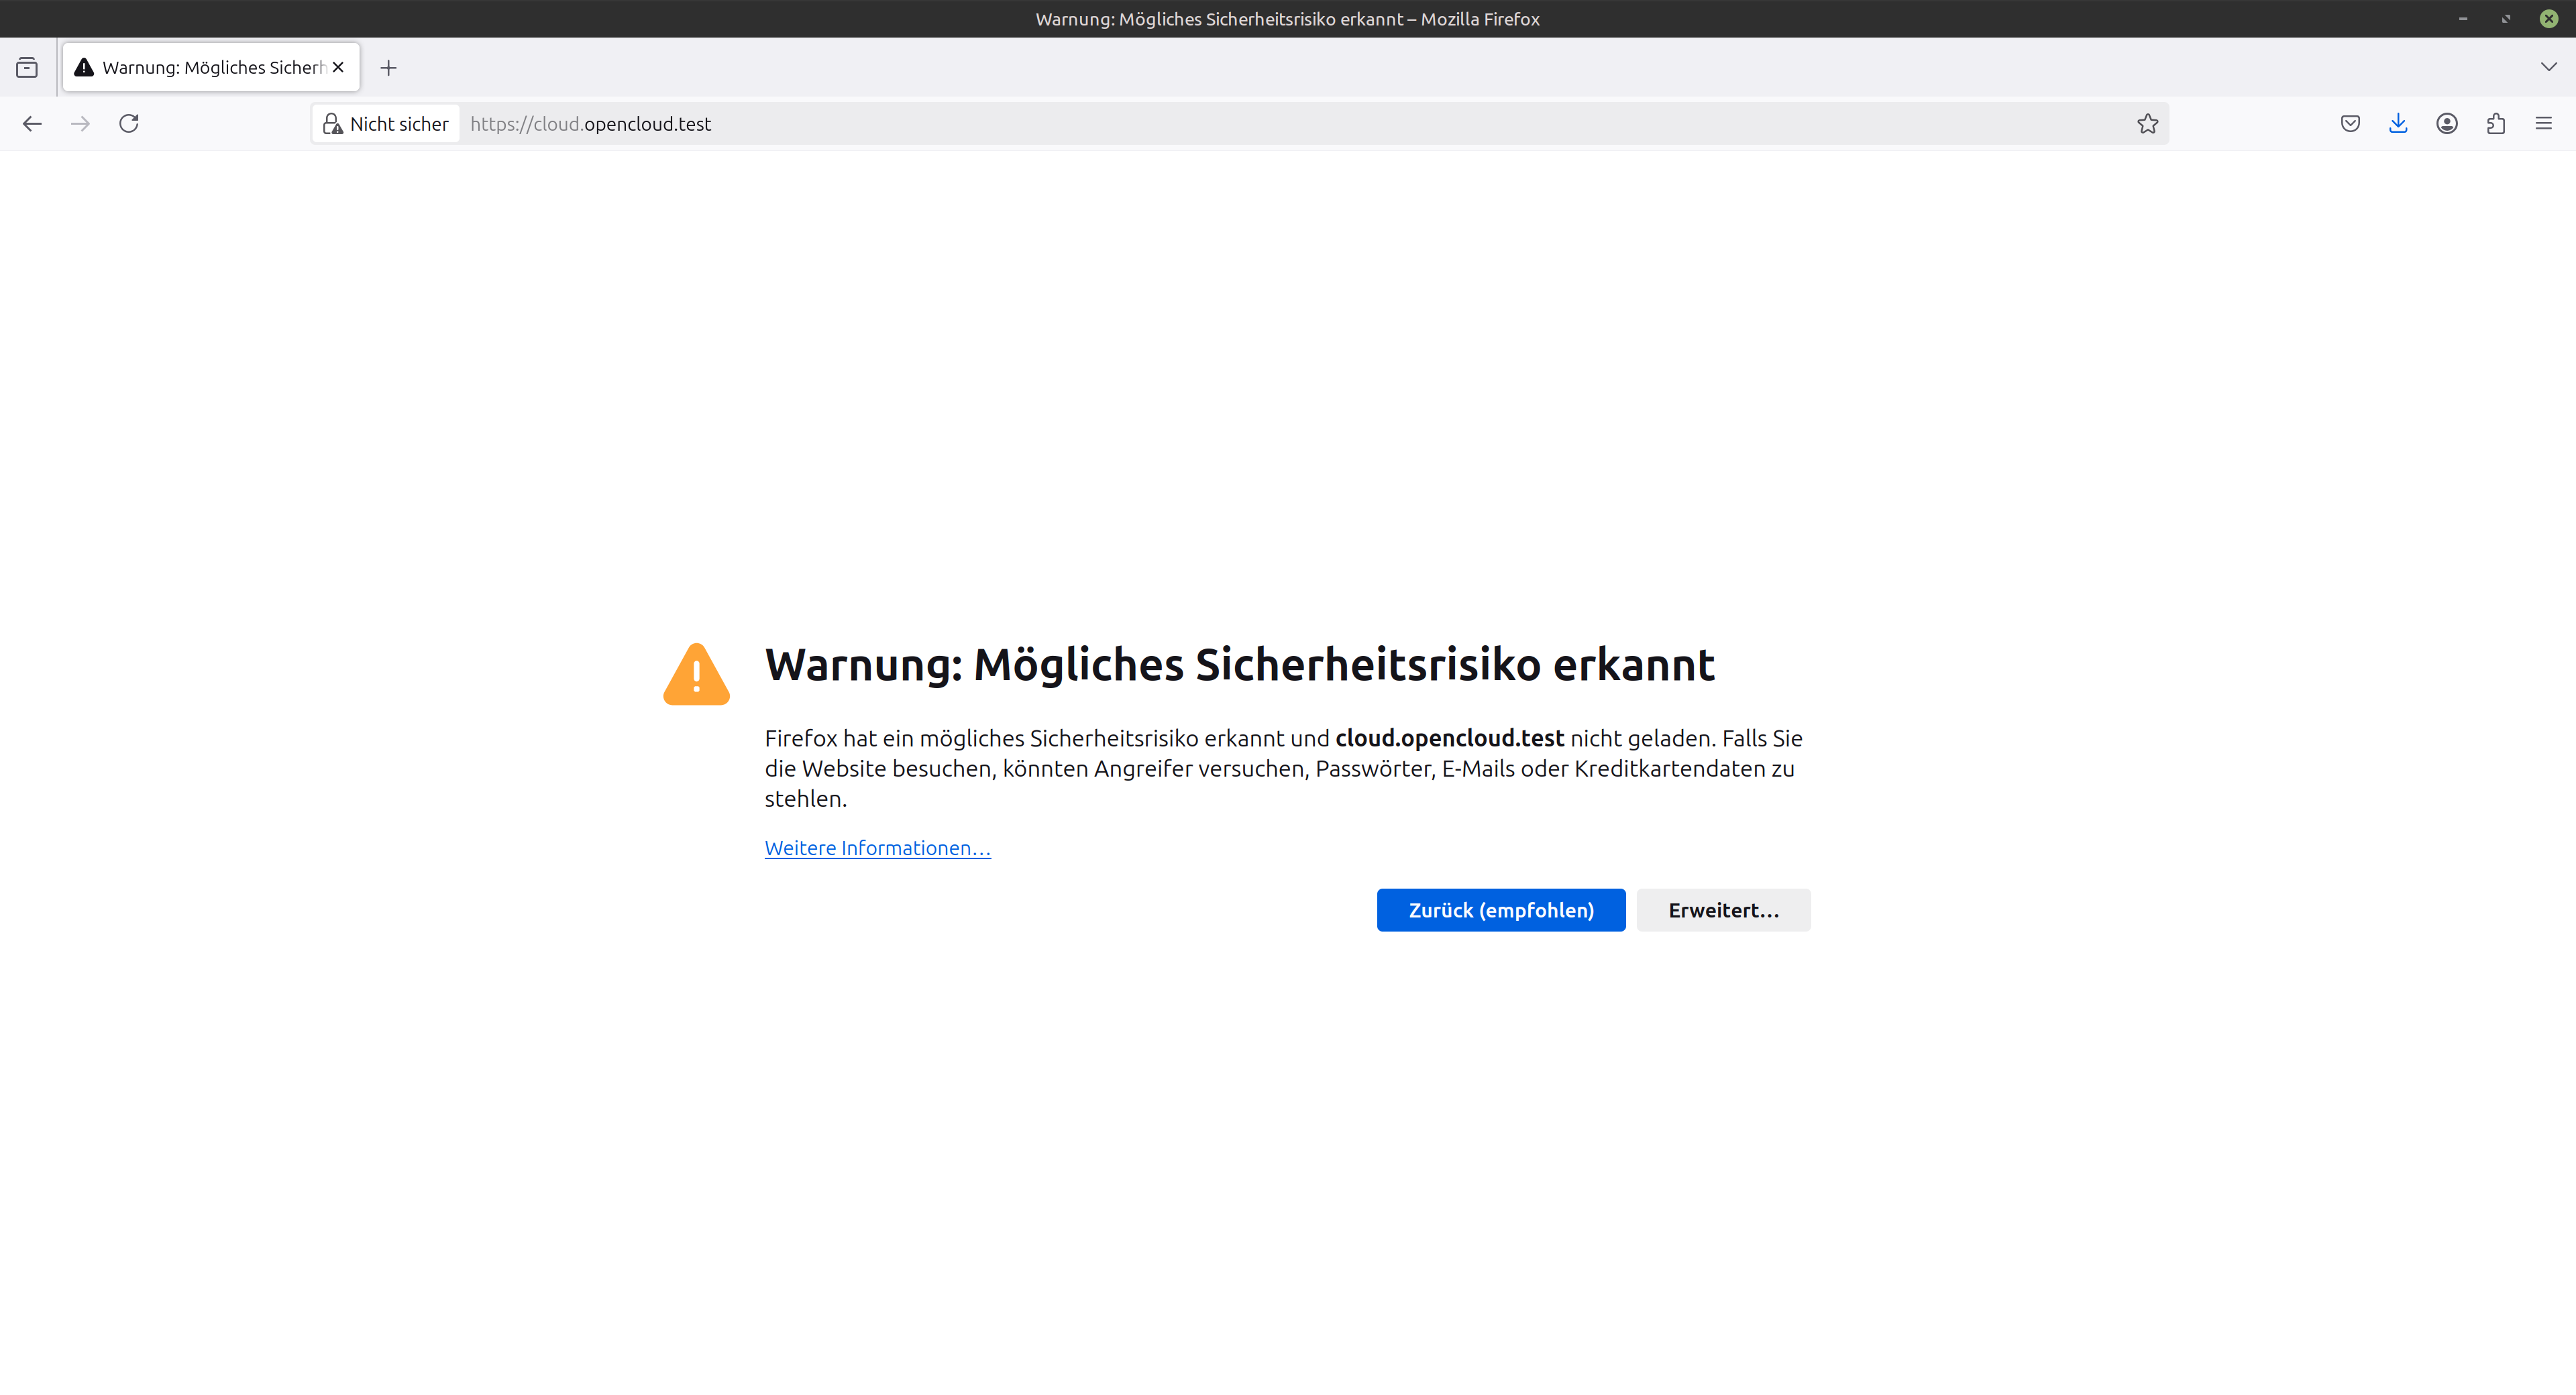
Wenn Sie in einer Laborumgebung agieren, so müssen Sie die sogenannten „self-signed-certificates“ beim ersten Aufruf manuell akzeptieren und bestätigen. Andernfalls fahren Sie bitte hier fort. Rufen Sie daher zuerst die URL https://collabora.opencloud.test auf und bestätigen die „self-signed-Zertifikate“.

Es wird Ihnen „OK“ im Webbrowser zurückgemeldet

Rufen Sie nun Ihre OpenCloud auf (https://cloud.opencloud.test) und bestätigen auch dort die Zertifikatswarnung.
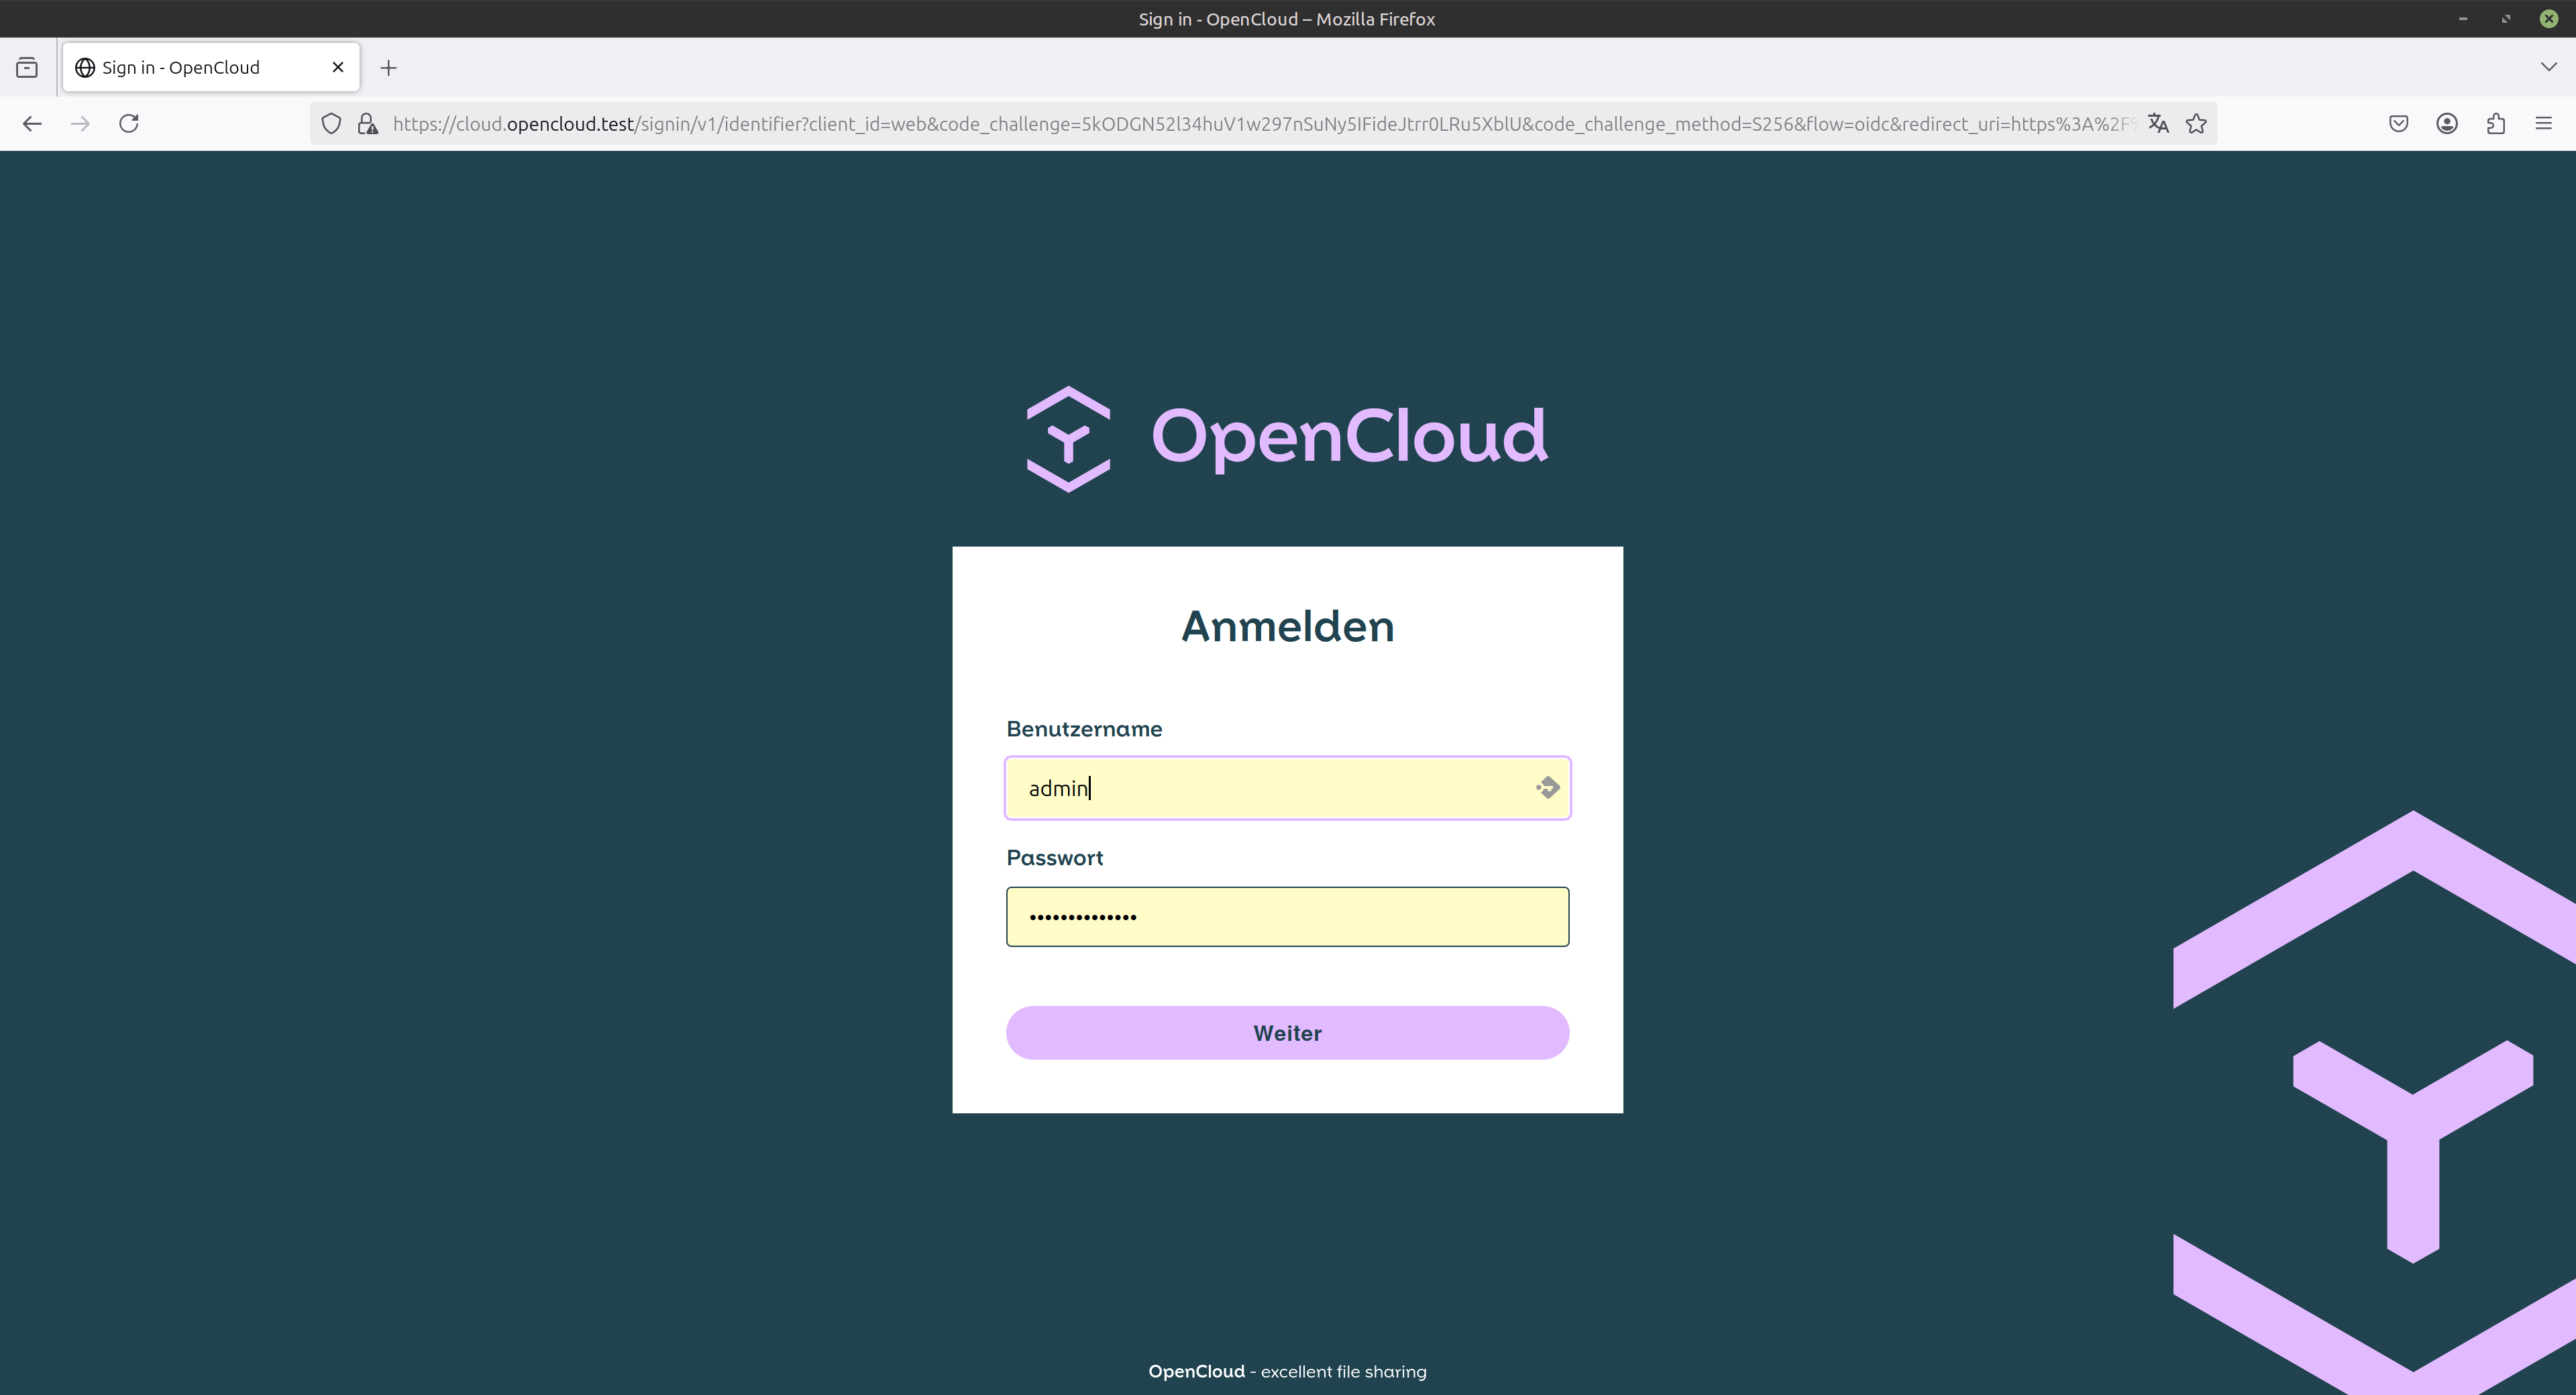
Nach der Bestätigung bzw, wenn Sie die OpenCloud produktiv einsetzen können Sie sich jetzt an Ihrer OpenCloud als Benutzer „admin“ und dem von Ihnen in der Datei „.env“ vergebenen Passwort anmelden.
Wenn Sie nicht in einer Laborumgebung agieren, so rufen Sie Ihre OpenCloud wie folgt im Browser auf » https://opencloud.ihredomain.org.
Nach der Anmeldung steht Ihnen die OpenCloud mit integriertem Collabora Office, draw.io, Apache Tika und ClamAV zur Verfügung.

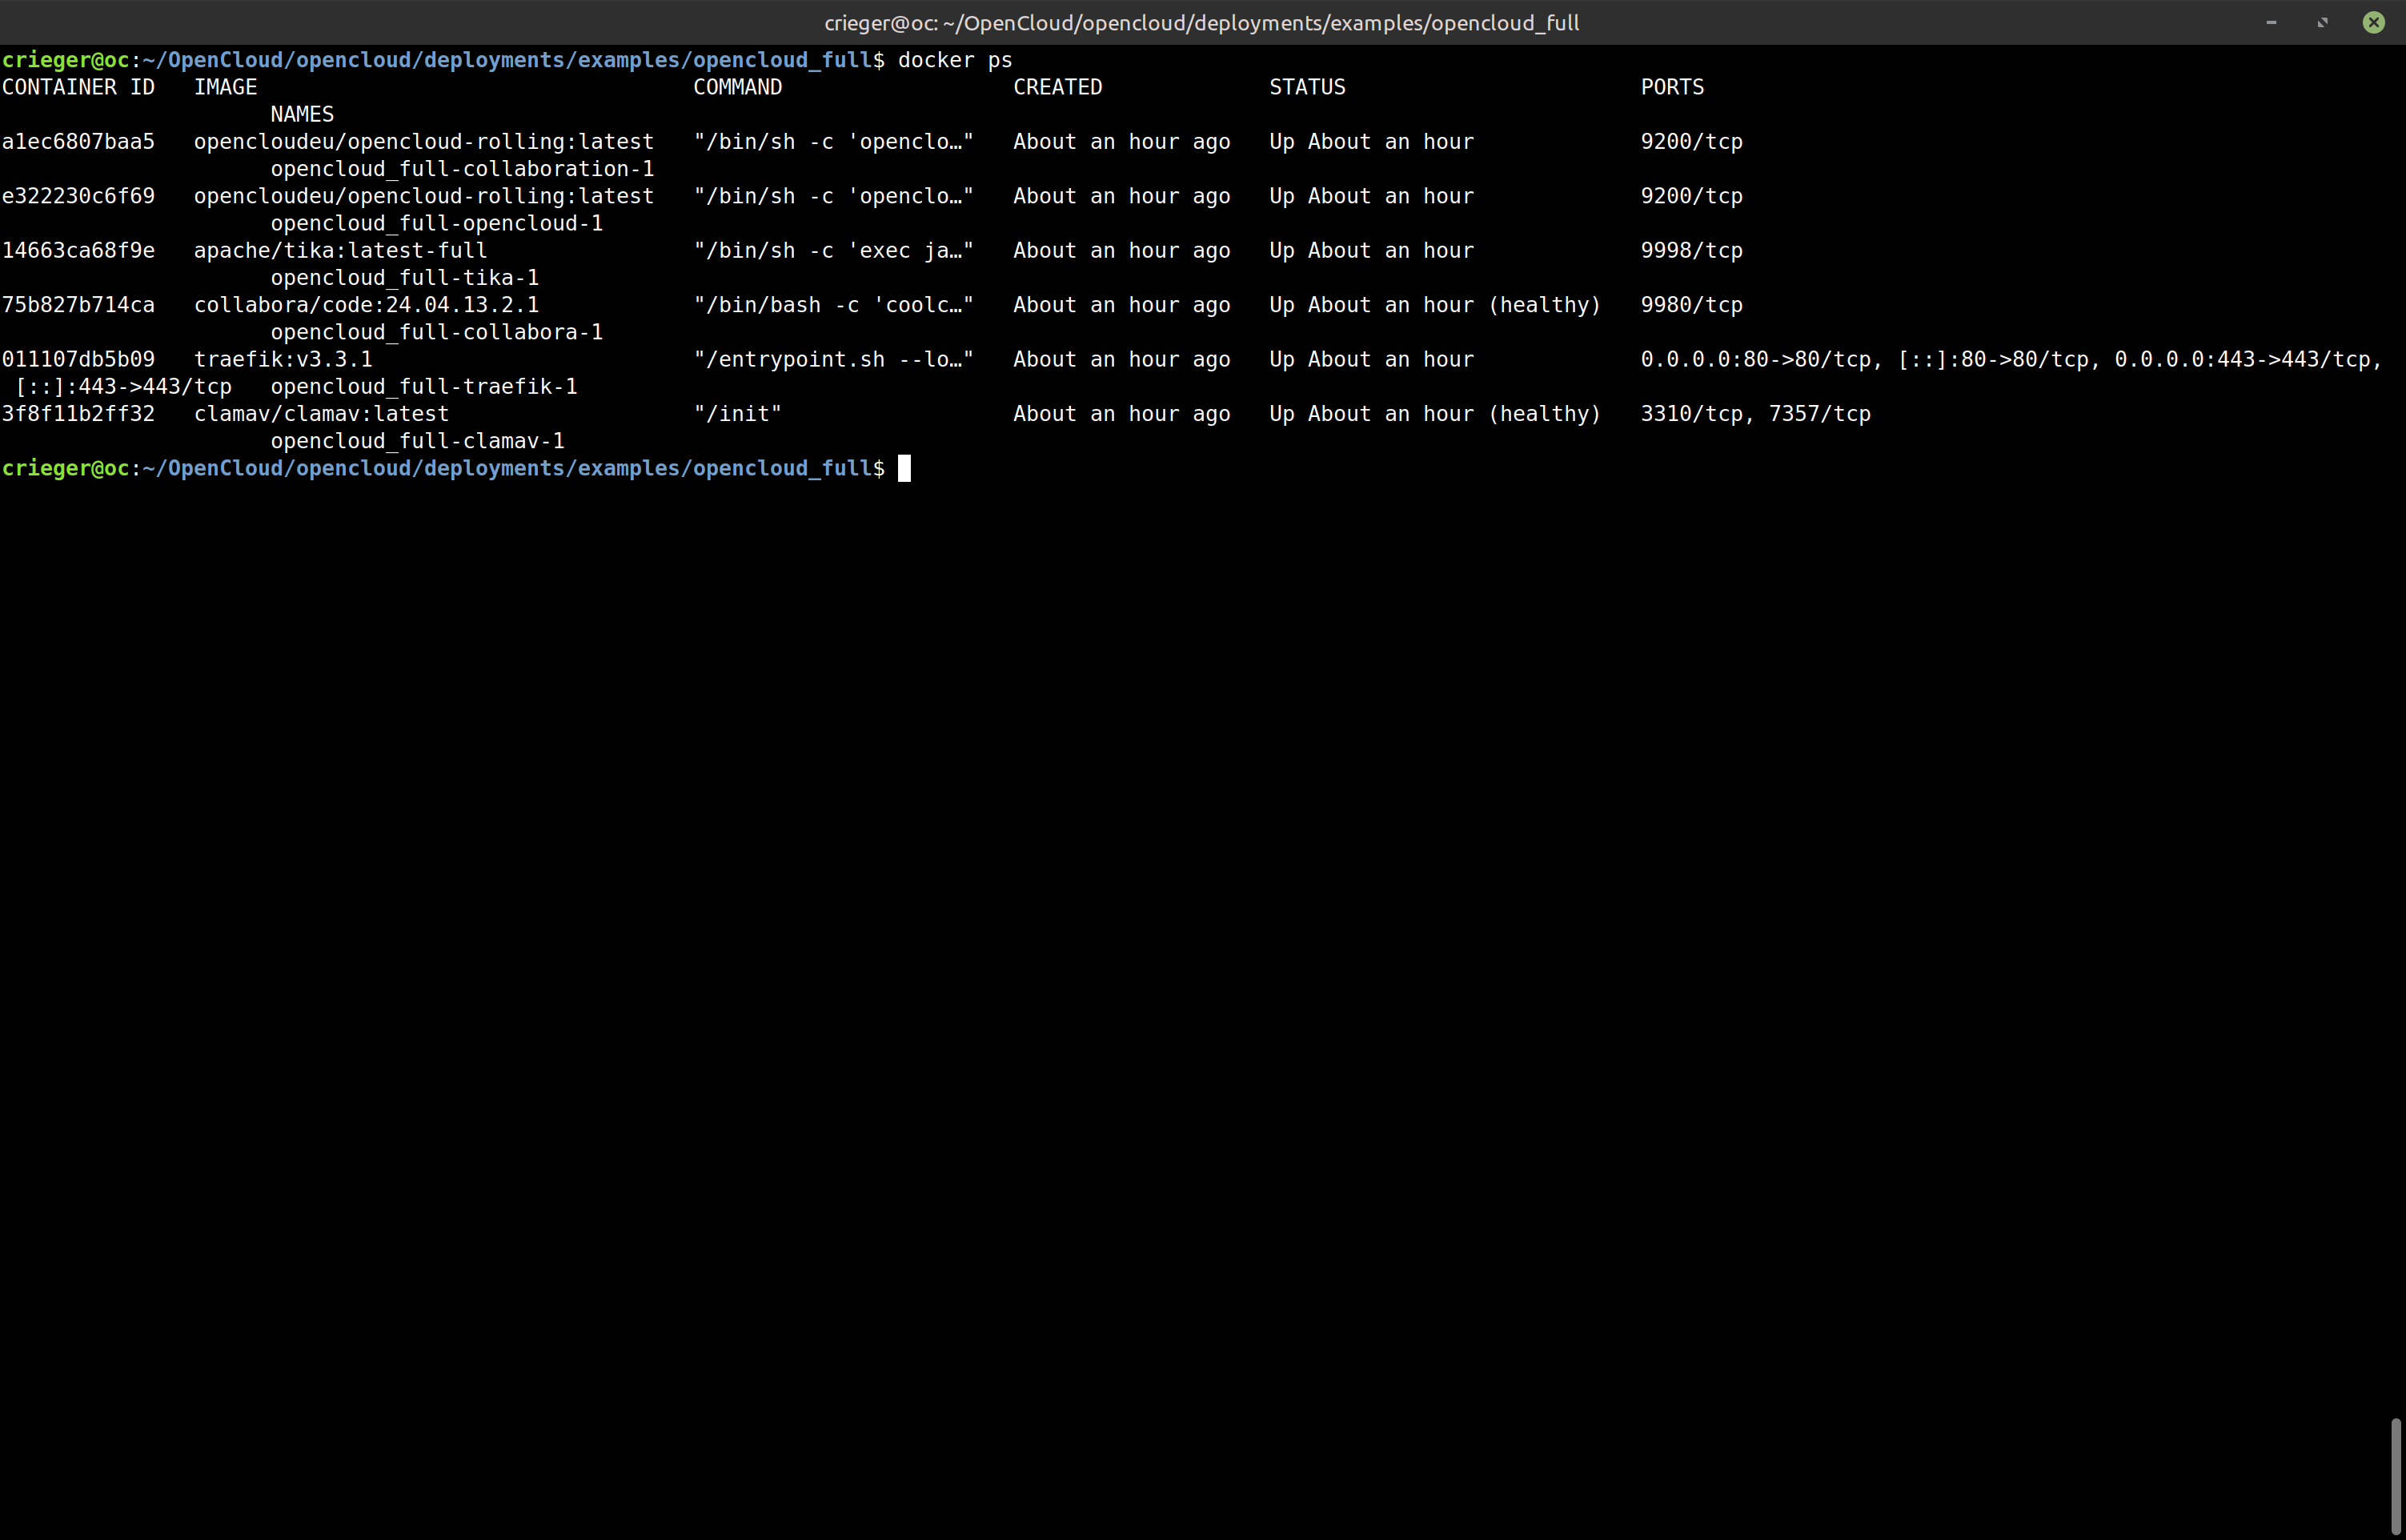
Die Daten sowie die Konfiguration der OpenCloud liegen in den von Ihnen angelegten Verzeichnissen. Die aktuellen Zustände der Container können Sie per
docker pskontrollieren.
Den integrierten Virenschutz können Sie mit Hilfe der Eicar-Testdatei testen. Laden Sie diese Datei in Ihre OpenCloud hoch, so wird diese Datei geblockt und der Anwender umgehend über den Virenfund benachrichtigt (s. Benachrichtigungsglocke).

3. Update
Möchten Sie die OpenCloud aktualisieren, so nutzen Sie unser Skript. Laden Sie es sich herunter:
cd $HOME && sudo apt install -y wgetwget -O update.sh -q https://codeberg.org/criegerde/opencloud/raw/branch/master/skripte/opencloud-code.shMarkieren Sie das Skript als „ausführbar“.
chmod +x update.sh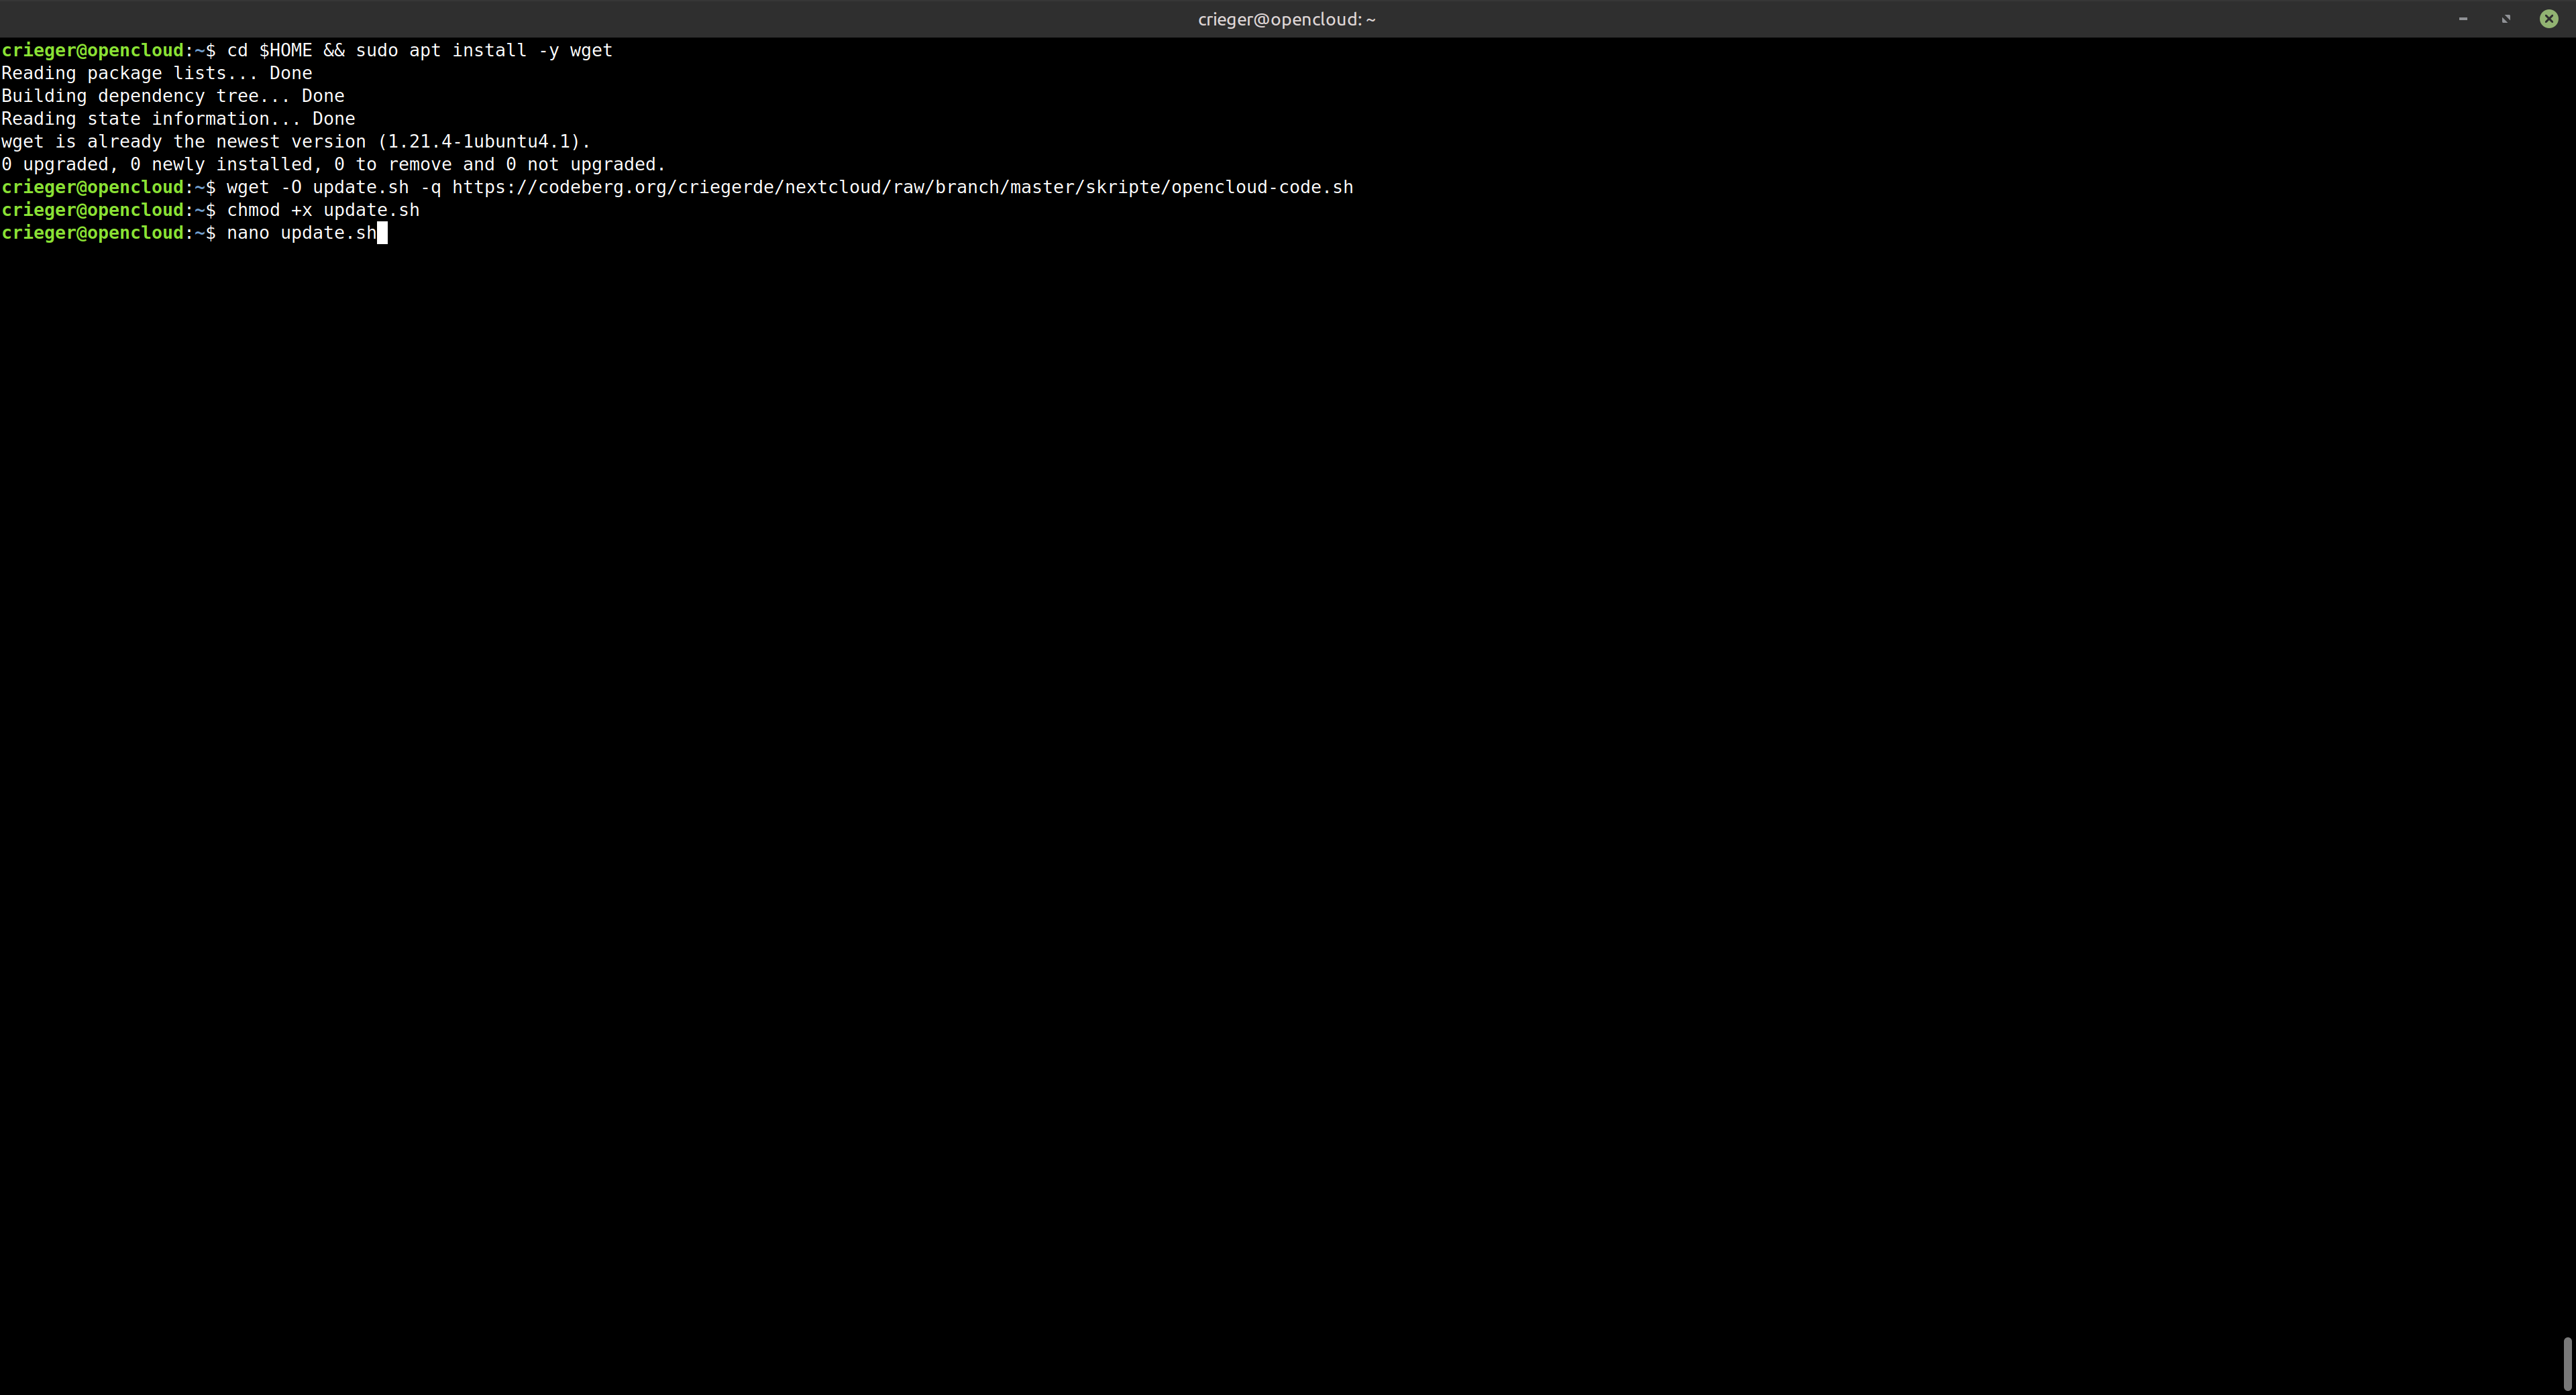
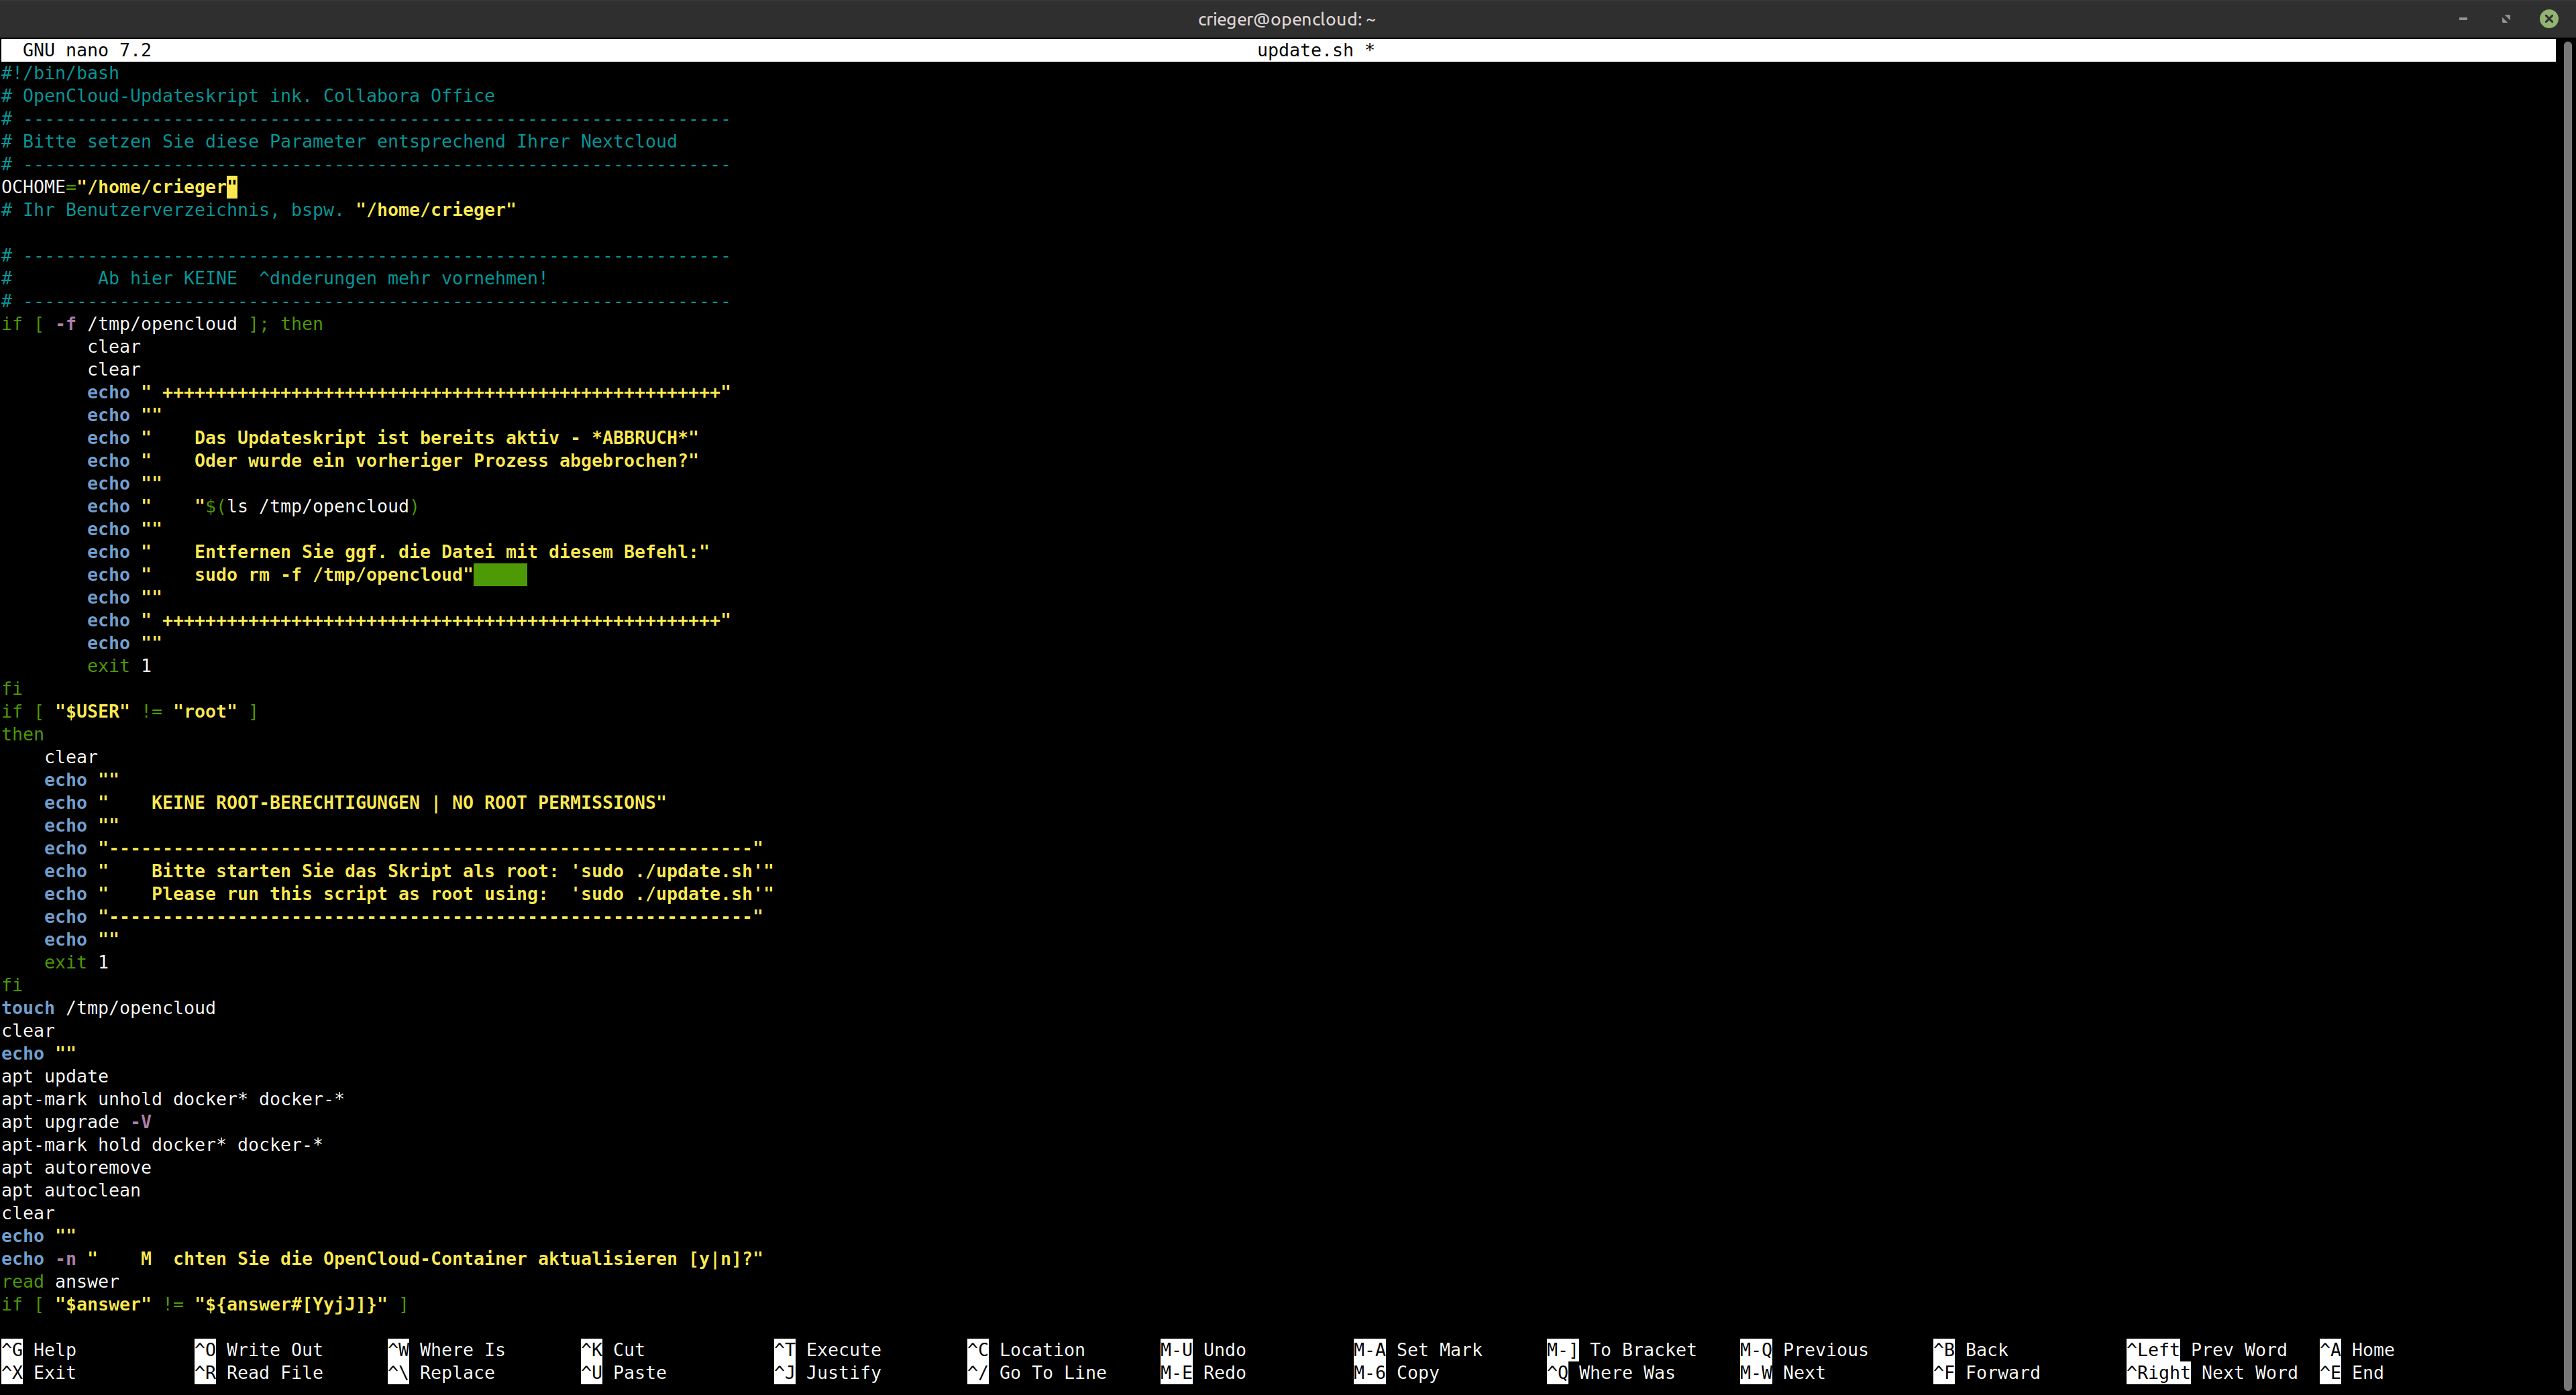
Passen Sie diesen Parameter entsprechend Ihrer Umgebung an.
OCHOME="/home/<IhrBenutzername>"
# Ihr Benutzerverzeichnis, bspw. "/home/crieger"
Editieren Sie dazu das Updateskript
nano update.sh
Führen Sie das Skript zur Aktualisierung Ihres Servers und Ihrer OpenCloud mittels sudo-Berechtigungen aus:
sudo ./update.sh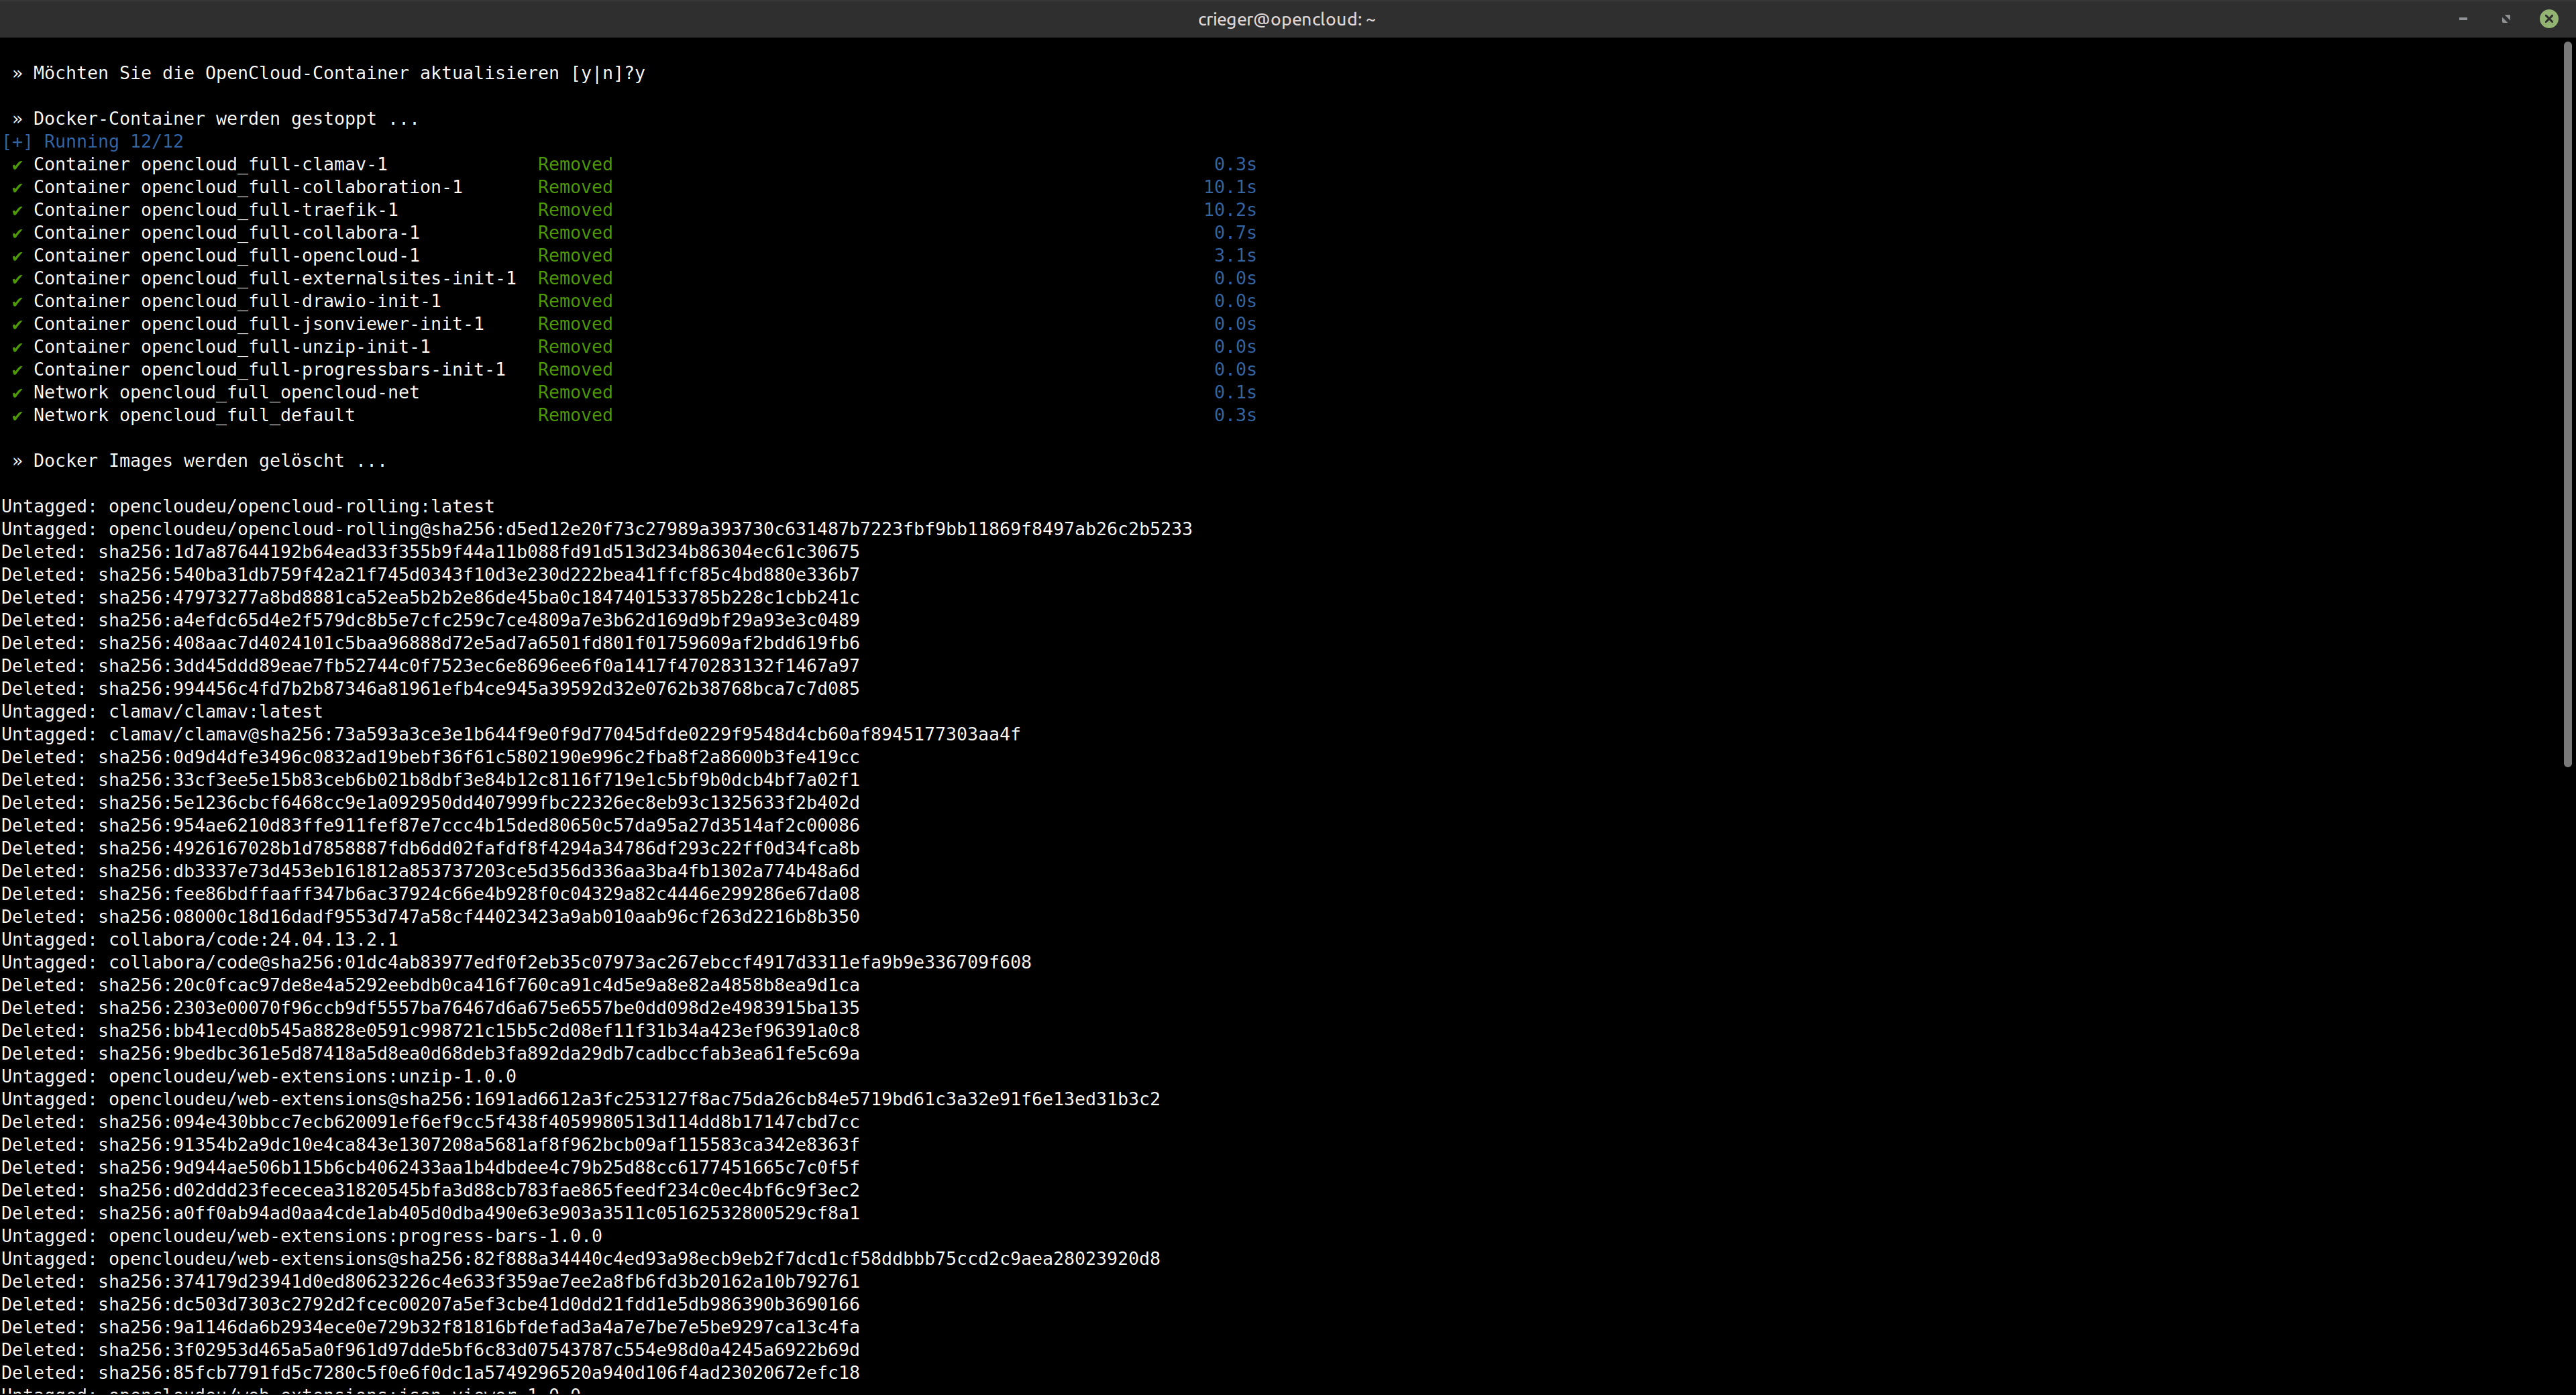
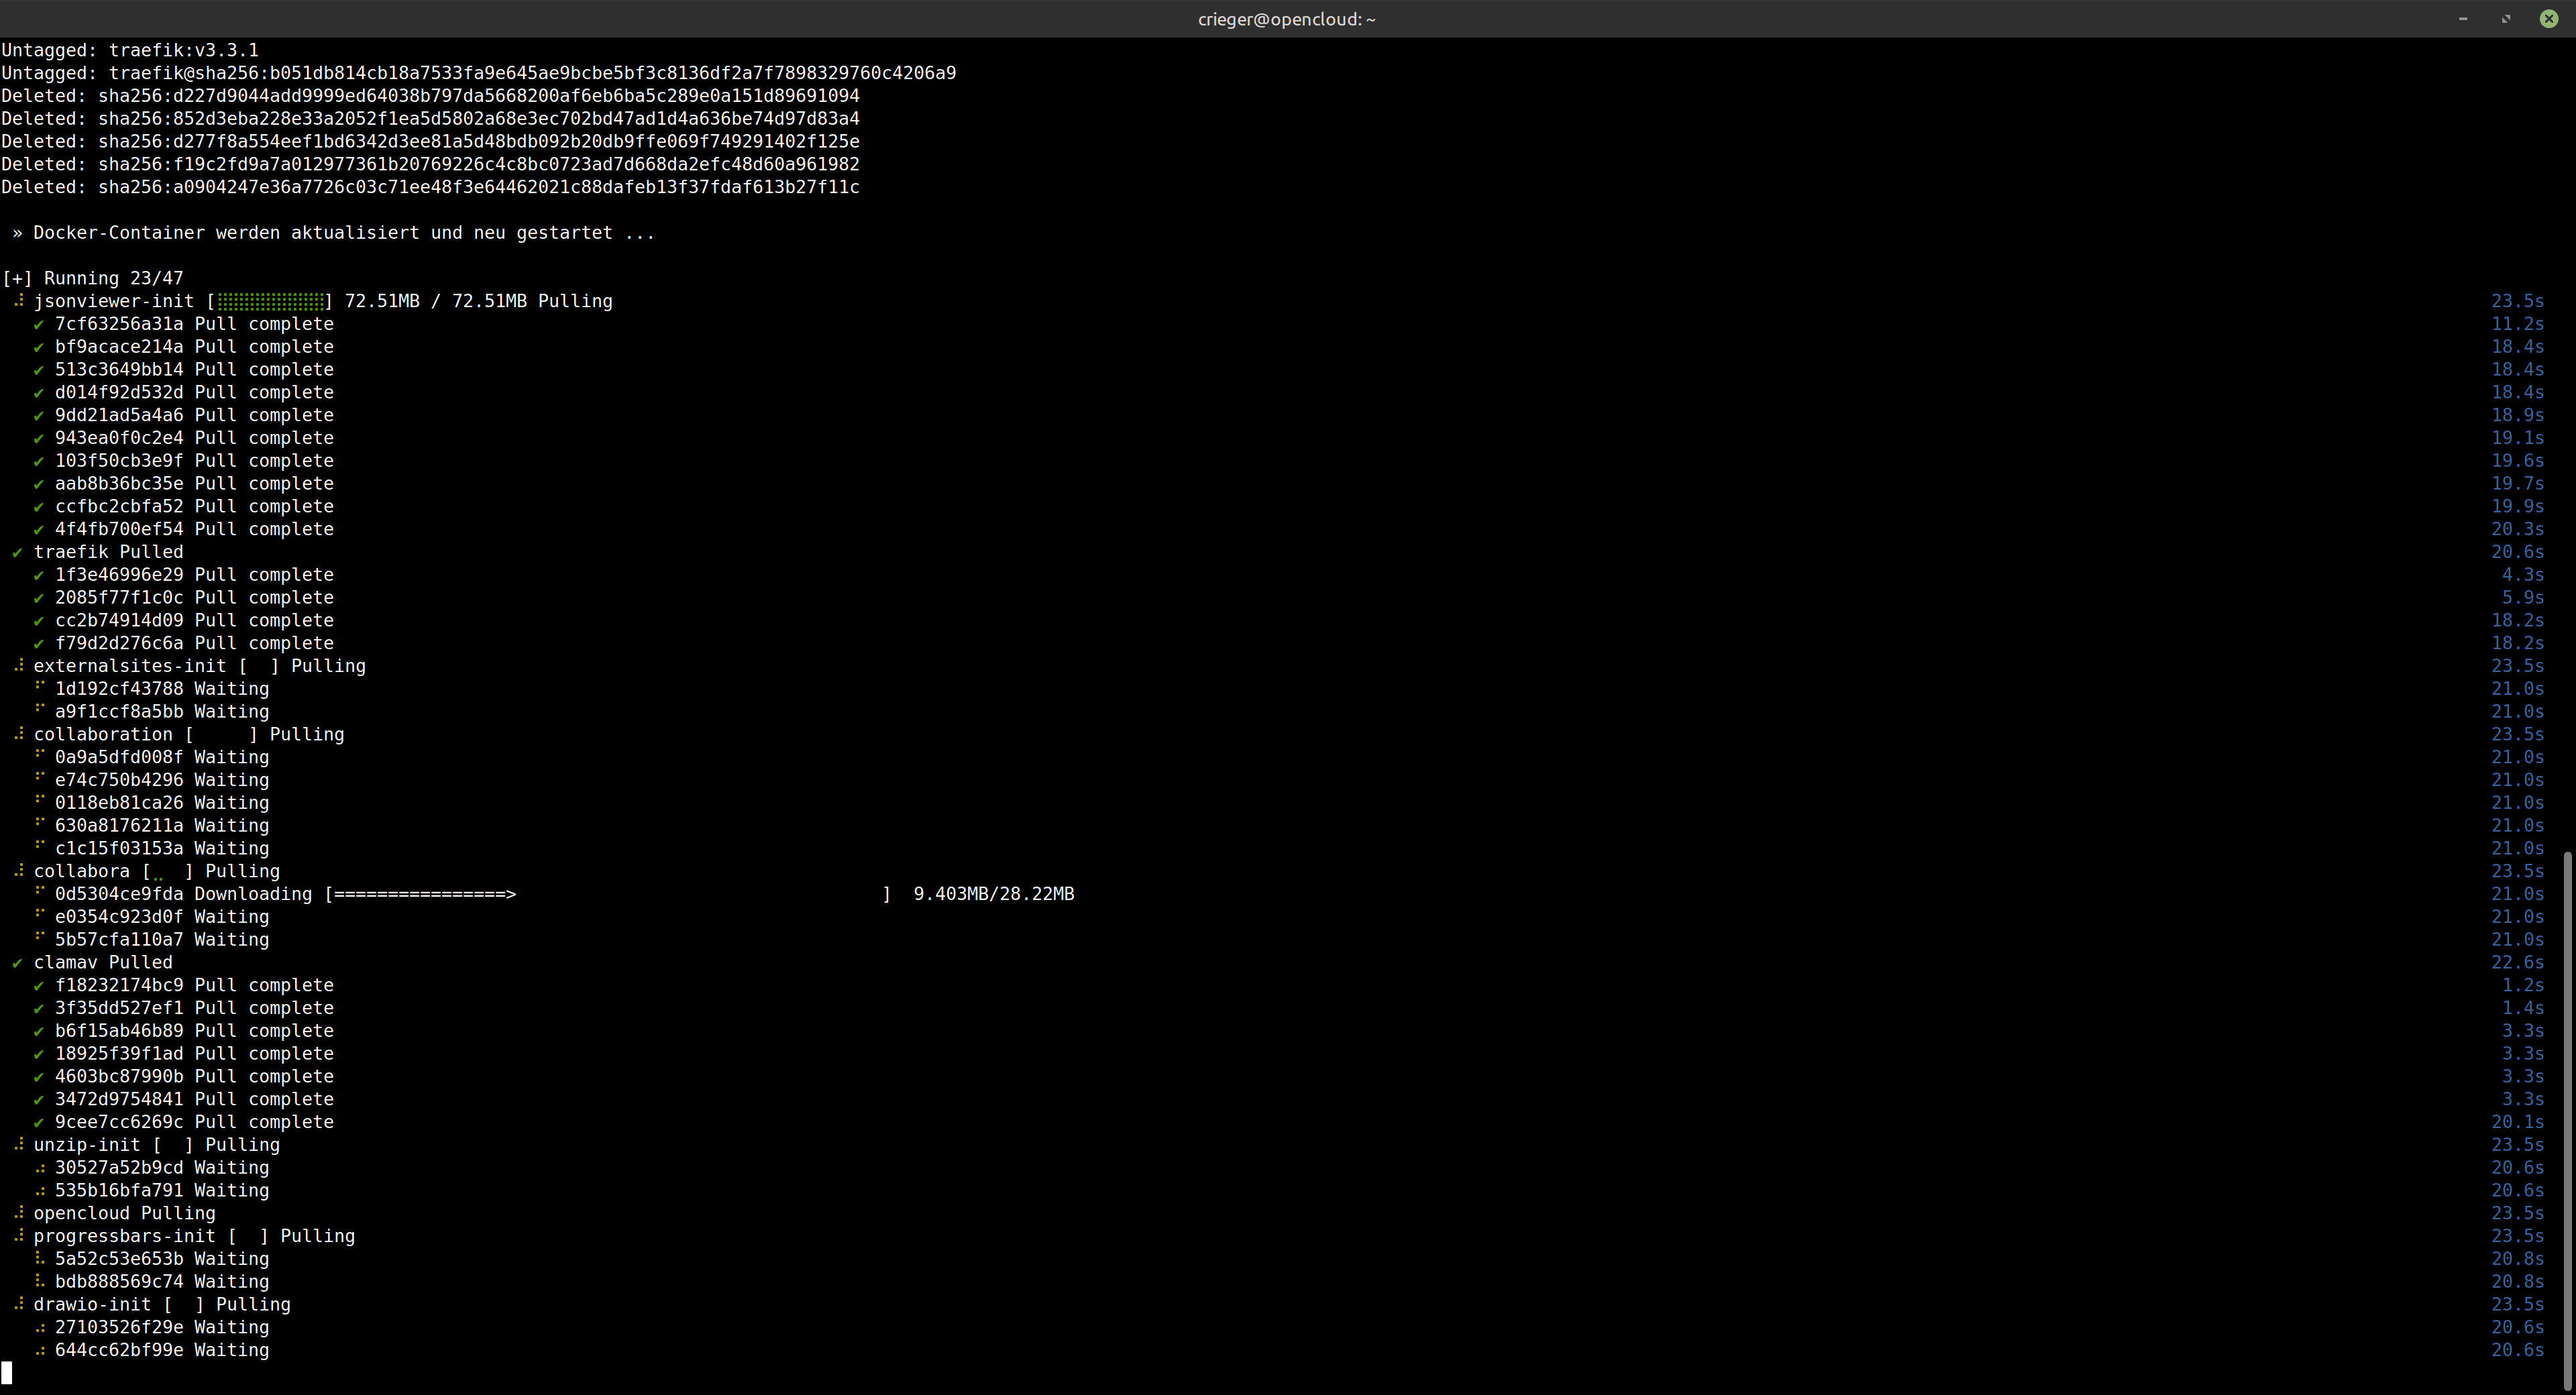
Vergessen Sie bitte nicht, nach jedem Update die „self-signed-Zertifikate“ erneut zu bestätigen! Natürlich nur so lange, wie Sie sich noch in einer Laborumgebung ohne vollwertige SSL-Zertifikate befinden.
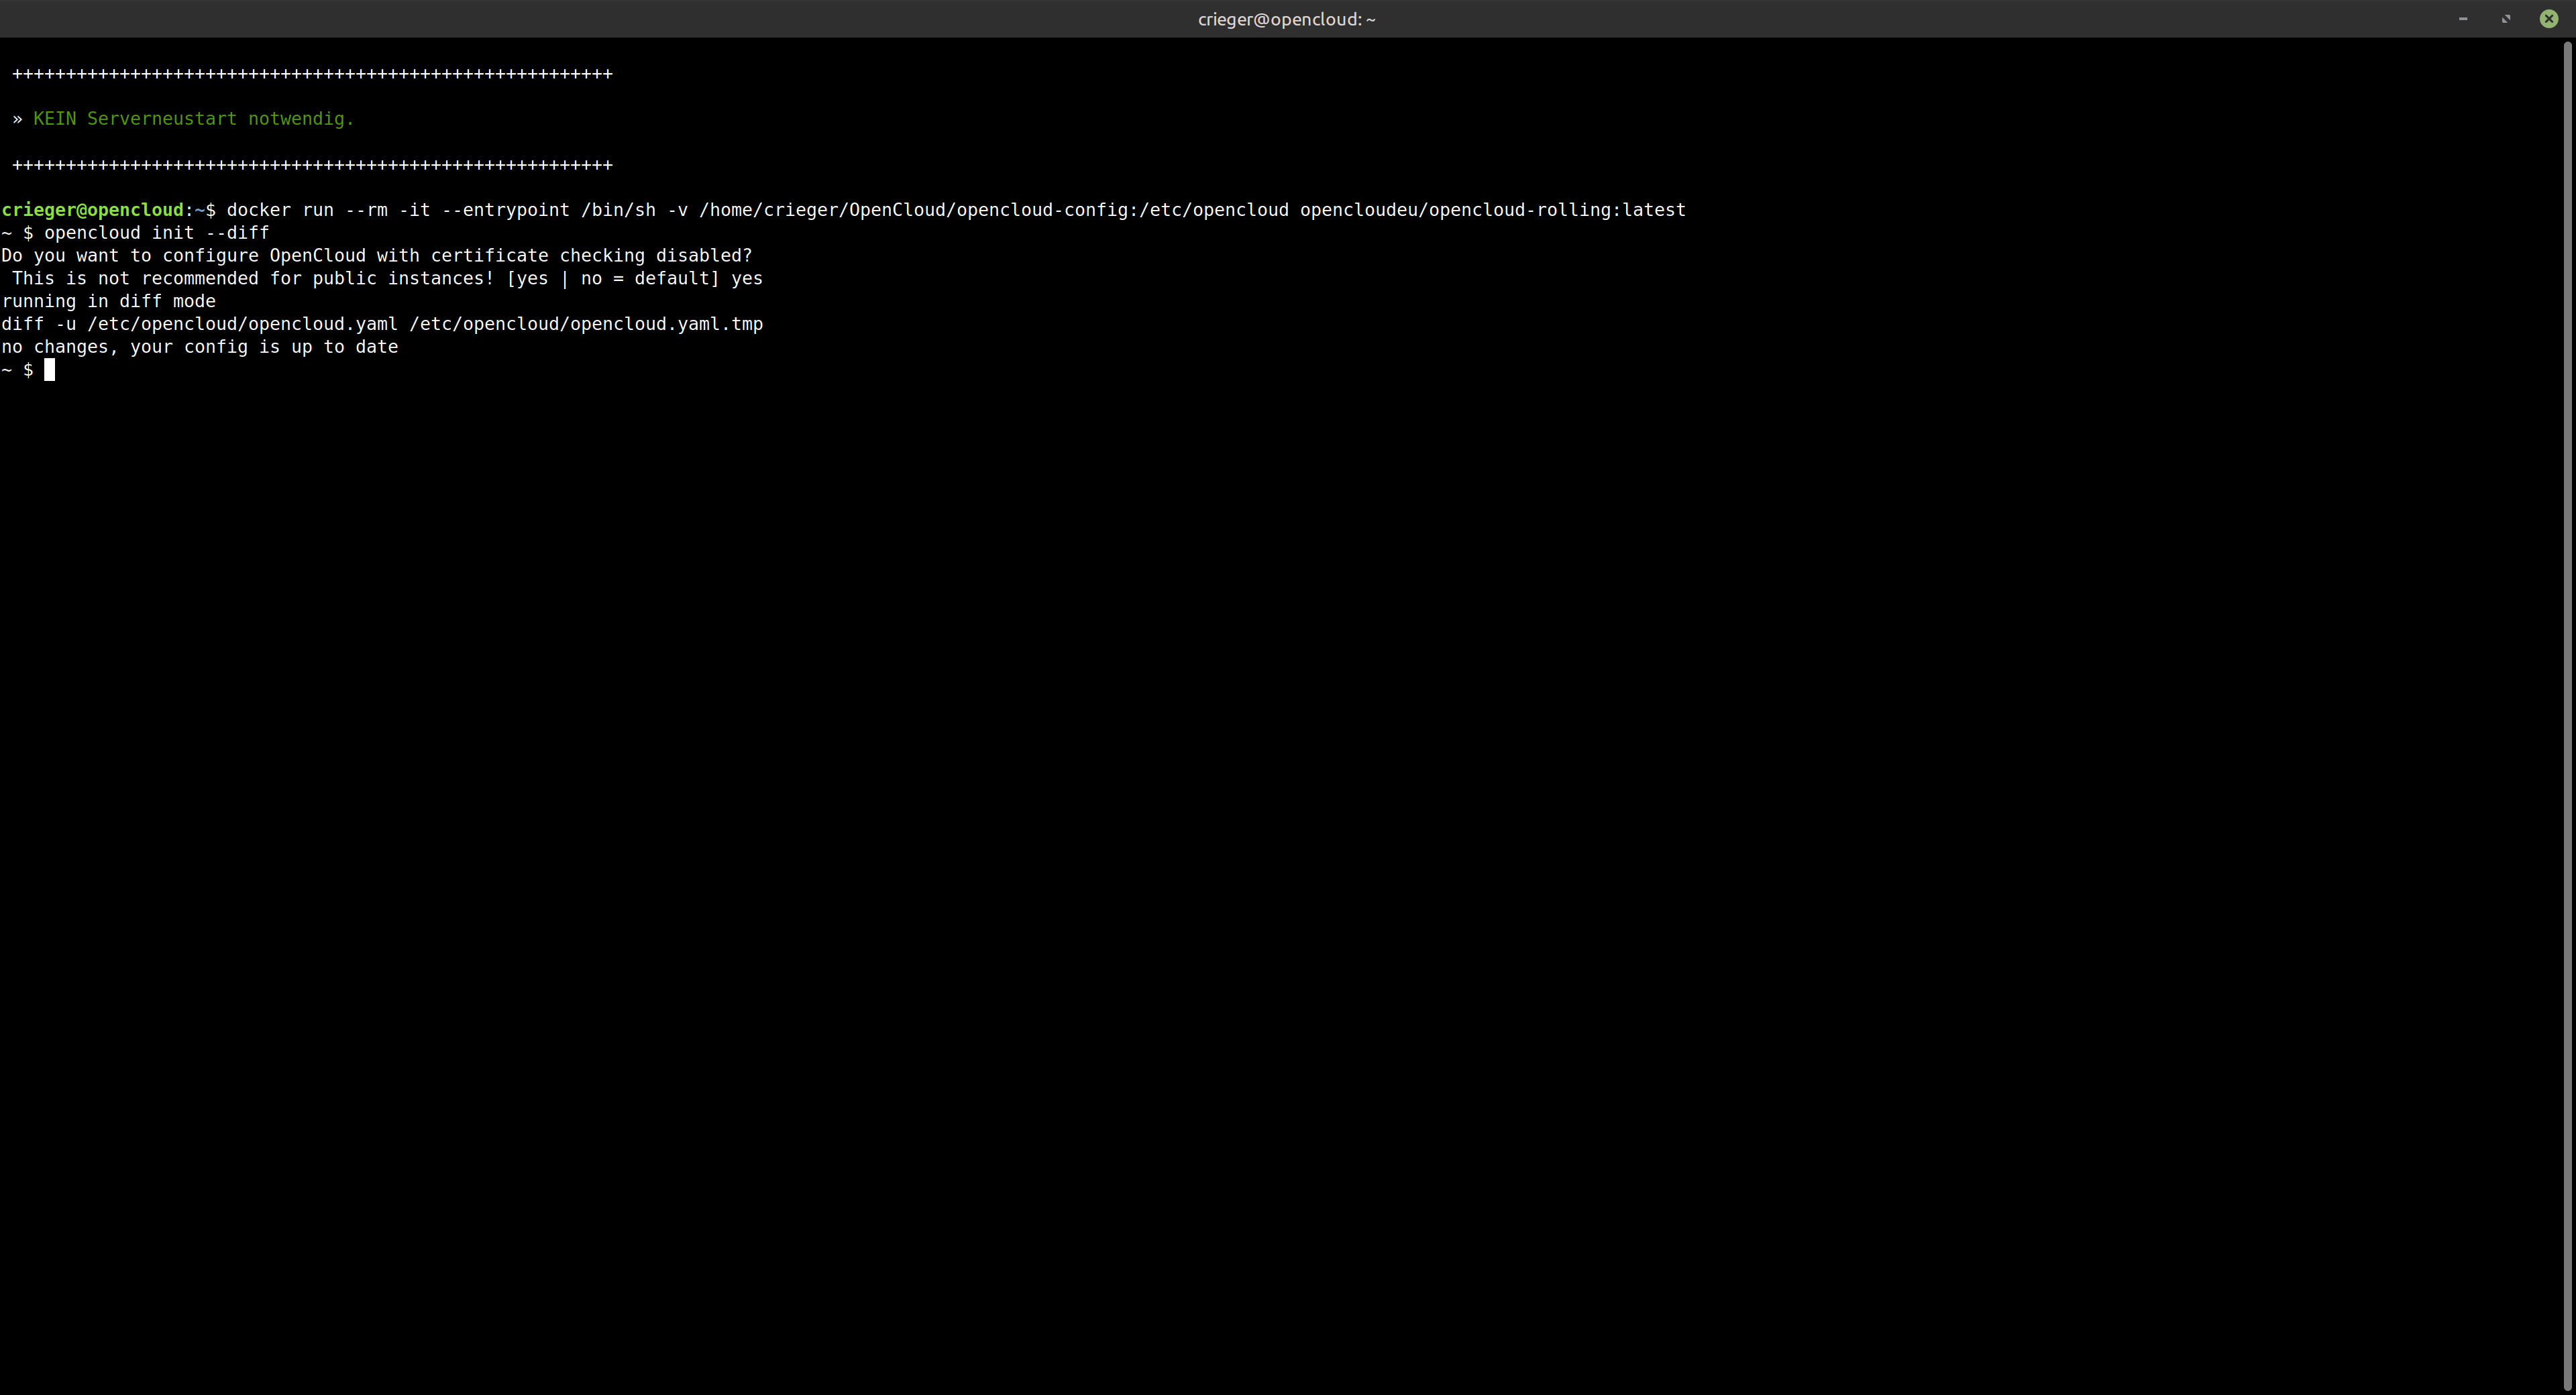
4. Upgrade-Check
Nach einem Upgrade einer früheren Version überprüfen Sie bitte die Konfiguration. Rufen Sie dafür den Container wie folgt auf:
docker run --rm -it --entrypoint /bin/sh -v /home/BENUTZERNAME/OpenCloud/opencloud-config:/etc/opencloud opencloudeu/opencloud-rolling:latestIm Container führen Sie bitte diesen Befehl aus:
opencloud init --diffSehen Sie dort die Nachricht „no changes, your config is up to date“ müssen Sie nichts unternehmen. Andernfalls muss die Konfiguration entsprechend angepasst werden.
5. Docker Hilfsmittel
Die Docker-Container nach Änderungen an der .env neustarten:
docker compose up -d --force-recreateDie Docker-Container nach Änderungen an der .env neustarten und verwaiste Container entfernen:
docker compose up -d --force-recreate --remove-orphansNach bestimmten Strings in den Logs suchen, bspw. nach E-Mail im OpenCloud-Log:
docker logs -f opencloud_full-opencloud-1 2>&1 | grep -i mail
Suchen Sie innerhalb anderer Container udn nach anderen Suchstrings, so ersetzen Sie einfach den Container-Namen und den Suchstring, also wie folgt:
docker logs -f containername 2>&1 | grep -i Suchstring6. Known Issues
Es werden keine Notification-Emails versandt:
SMTP: Mail Error on Auth (STARTTLS/587) #511fixedEmail are not sent: „Must issue a STARTTLS command first“ #514fixed
UI-Bugs:
Collabora-UI-Bugs:
- Collabora: Clicking on the „Navigator“ results in message „connecting“ #517
- Collabora: Closing an office document using the right top close button doesn’t work #516
ClamAV – Bug:
Das war’s schon – wir wünschen Ihnen viel Spaß beim Erkunden der OpenCloud. Über Ihre Unterstützung (diese wird ordnungsgemäß versteuert!) würden wir uns sehr freuen.